
2025 Advent Calendar
24 days of holiday projects curated just for you. We selected ideas and tutorials from an amazing range of TikTok creators, compiled a supply list of everything you need for these projects, and provided downloadable templates. We can’t wait to see what you make.
Watch our YouTube playlist of all the projects!
Be sure to follow the creators spotlighted! If you post your projects, tag @SharedWorkshop and use #madewithShared. We’ll be following and liking all of it along the way! If you enjoy these projects, please consider donating to Shared so we can continue to build and enrich our community with you!
-

Day 1: Folding Holiday Card
This stylish card is sure to make an impression. It’s easier to DIY than you’d think! Cut a strip of paper 3” x 9” and two squares 3” x 3” to begin. Add embellishments as you like such as the wreath and year shown on mine.
PS: Makes for a stunning gift tag as well!
Source: KTCrafts -
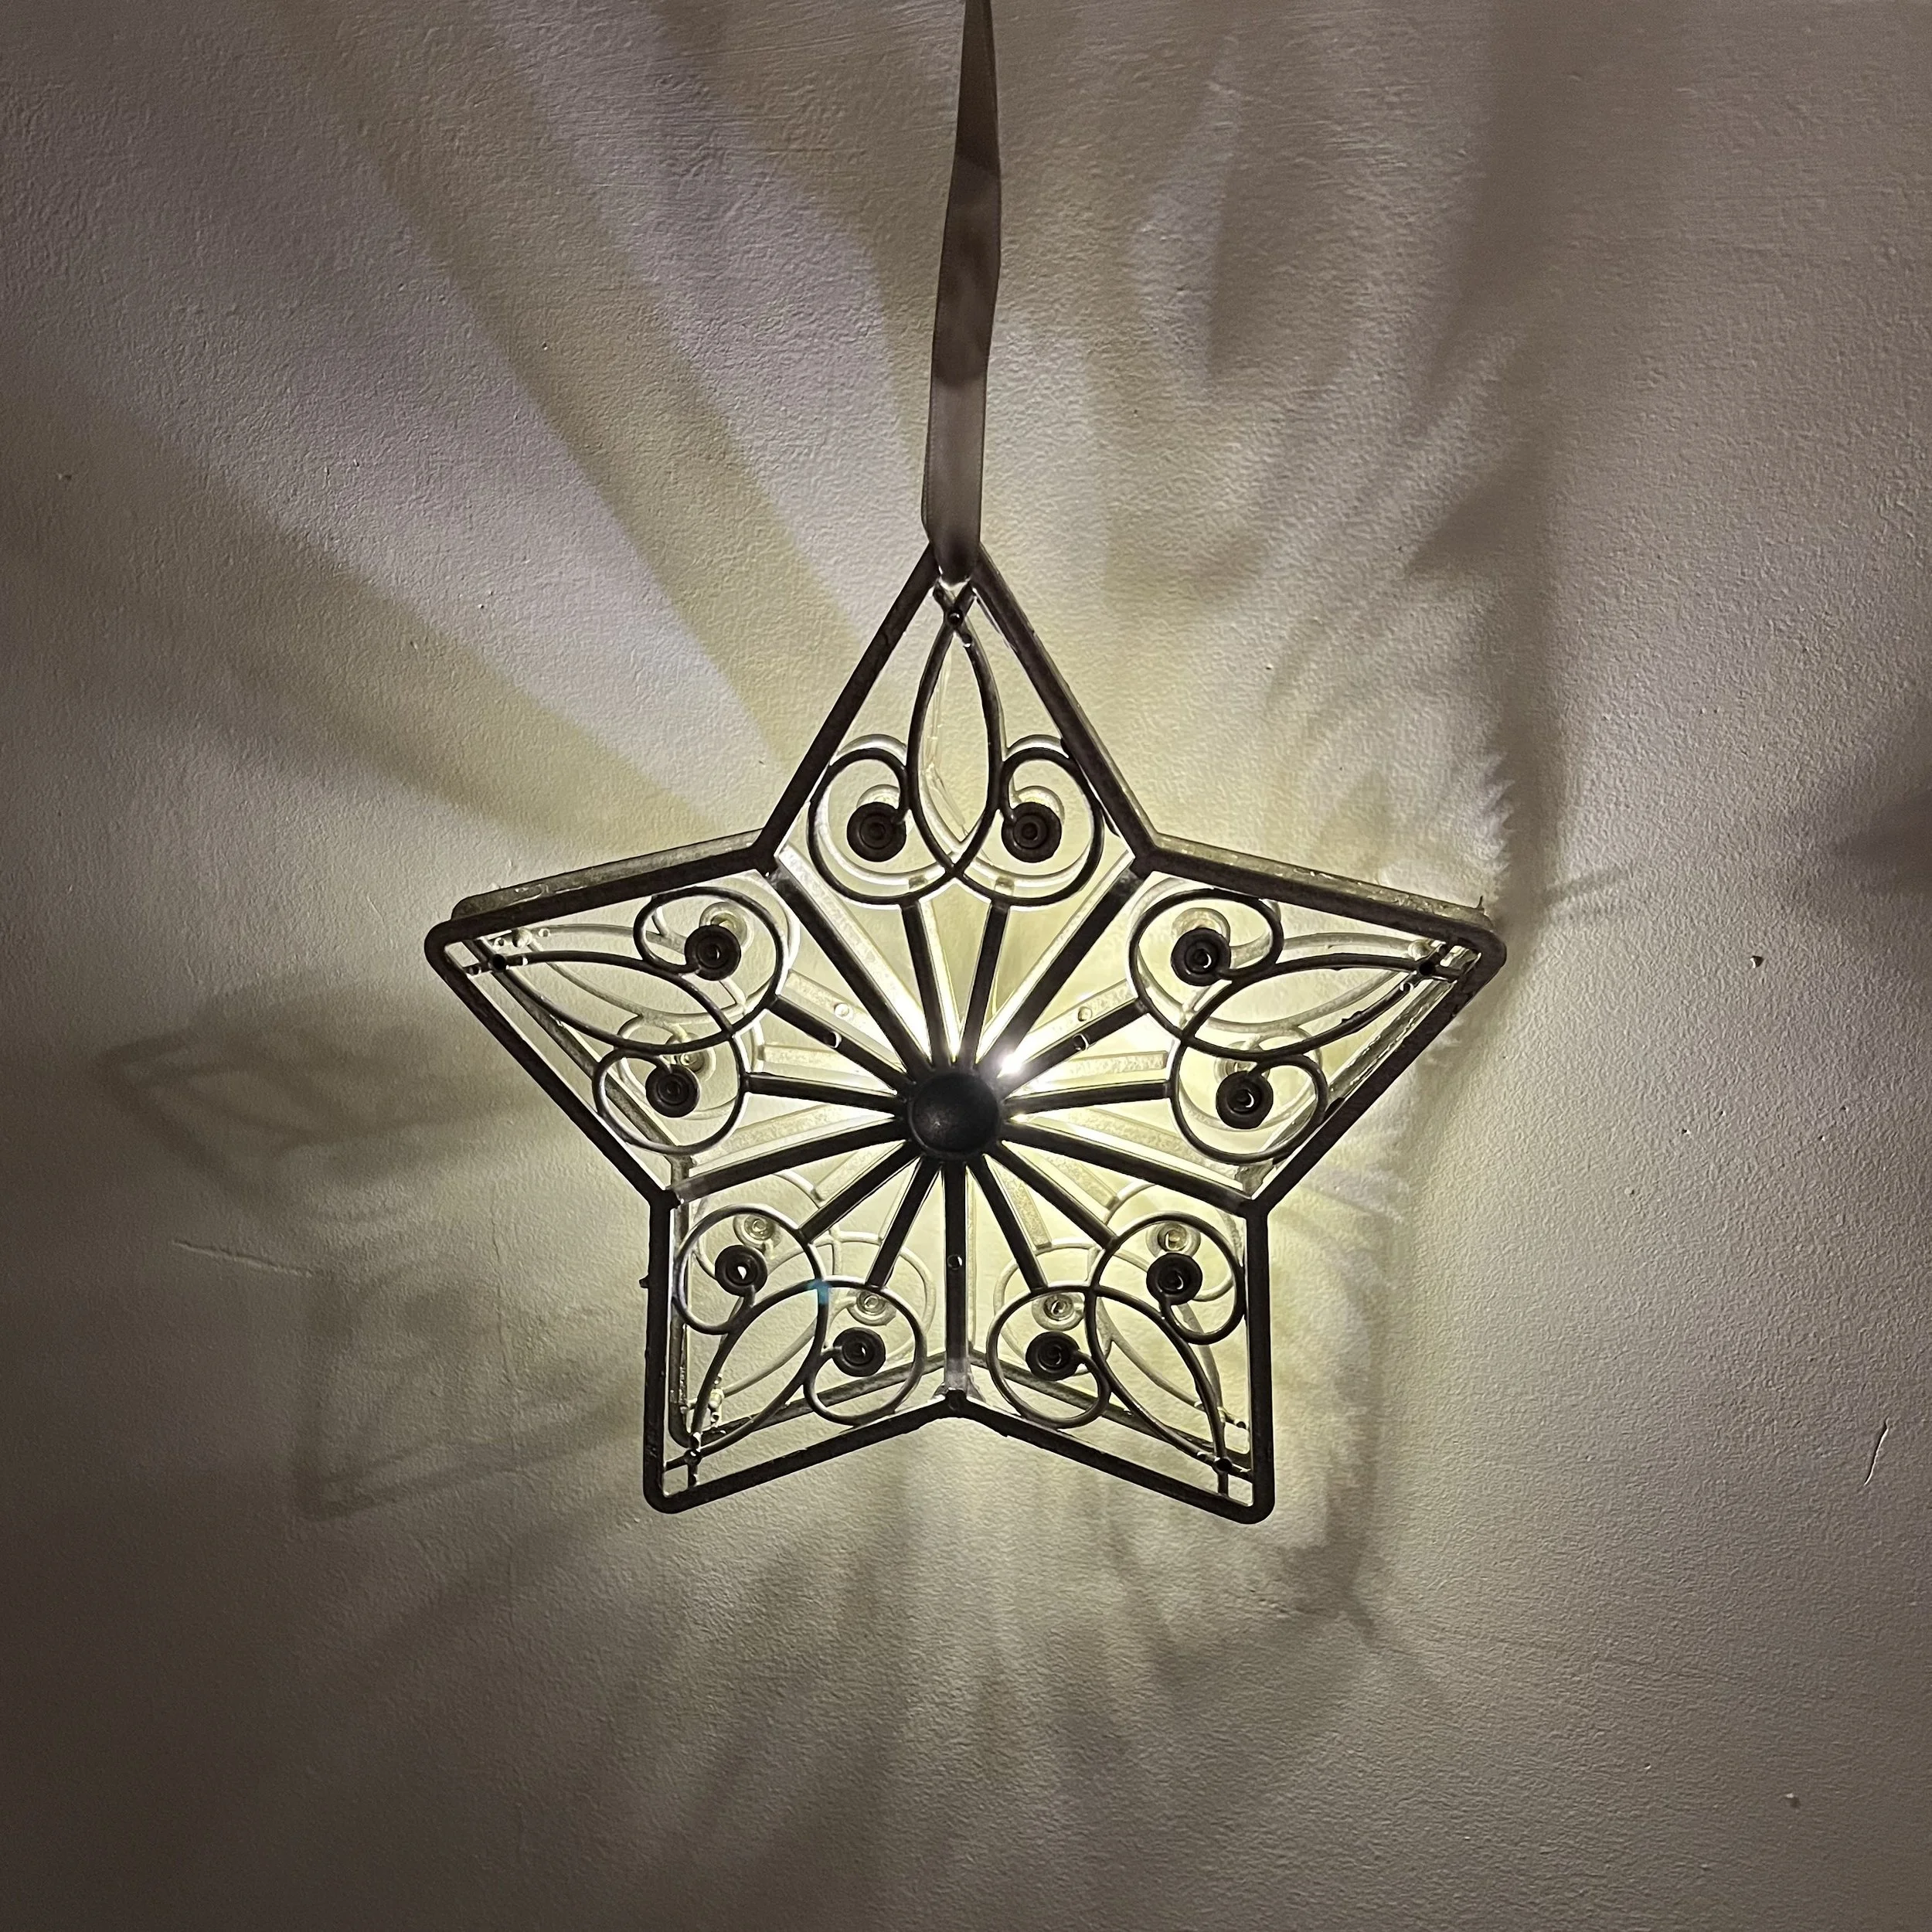
Day 2: Star Light
Make a beautiful light with just a few items from the dollar store. We modified a tree topper for our version.
Source: The Navage Patch
-

Day 3: Little Debbie Tree Felt Ornament
These felt ornaments are TOO cute to pass up. Anne walks you through it all step by step and you’ll be so happy with the results. We found a good tree outline from One Little Project to help you out, included in our Templates download above. You’ll also need a strip of felt about 0.5” x 10”.
Source: Anne Lourayne
-

Day 4: Embroidered 2025 Ornament
This beginner friendly embroidery project uses just a couple types of stitches. If you want to give it a go, the maker sells a kit with supplies and instructions for $44 here. It is updated for 2025. Shared is not sponsored or an affiliate with them, we just like the project!
Source: High Crafting Embroidery
-
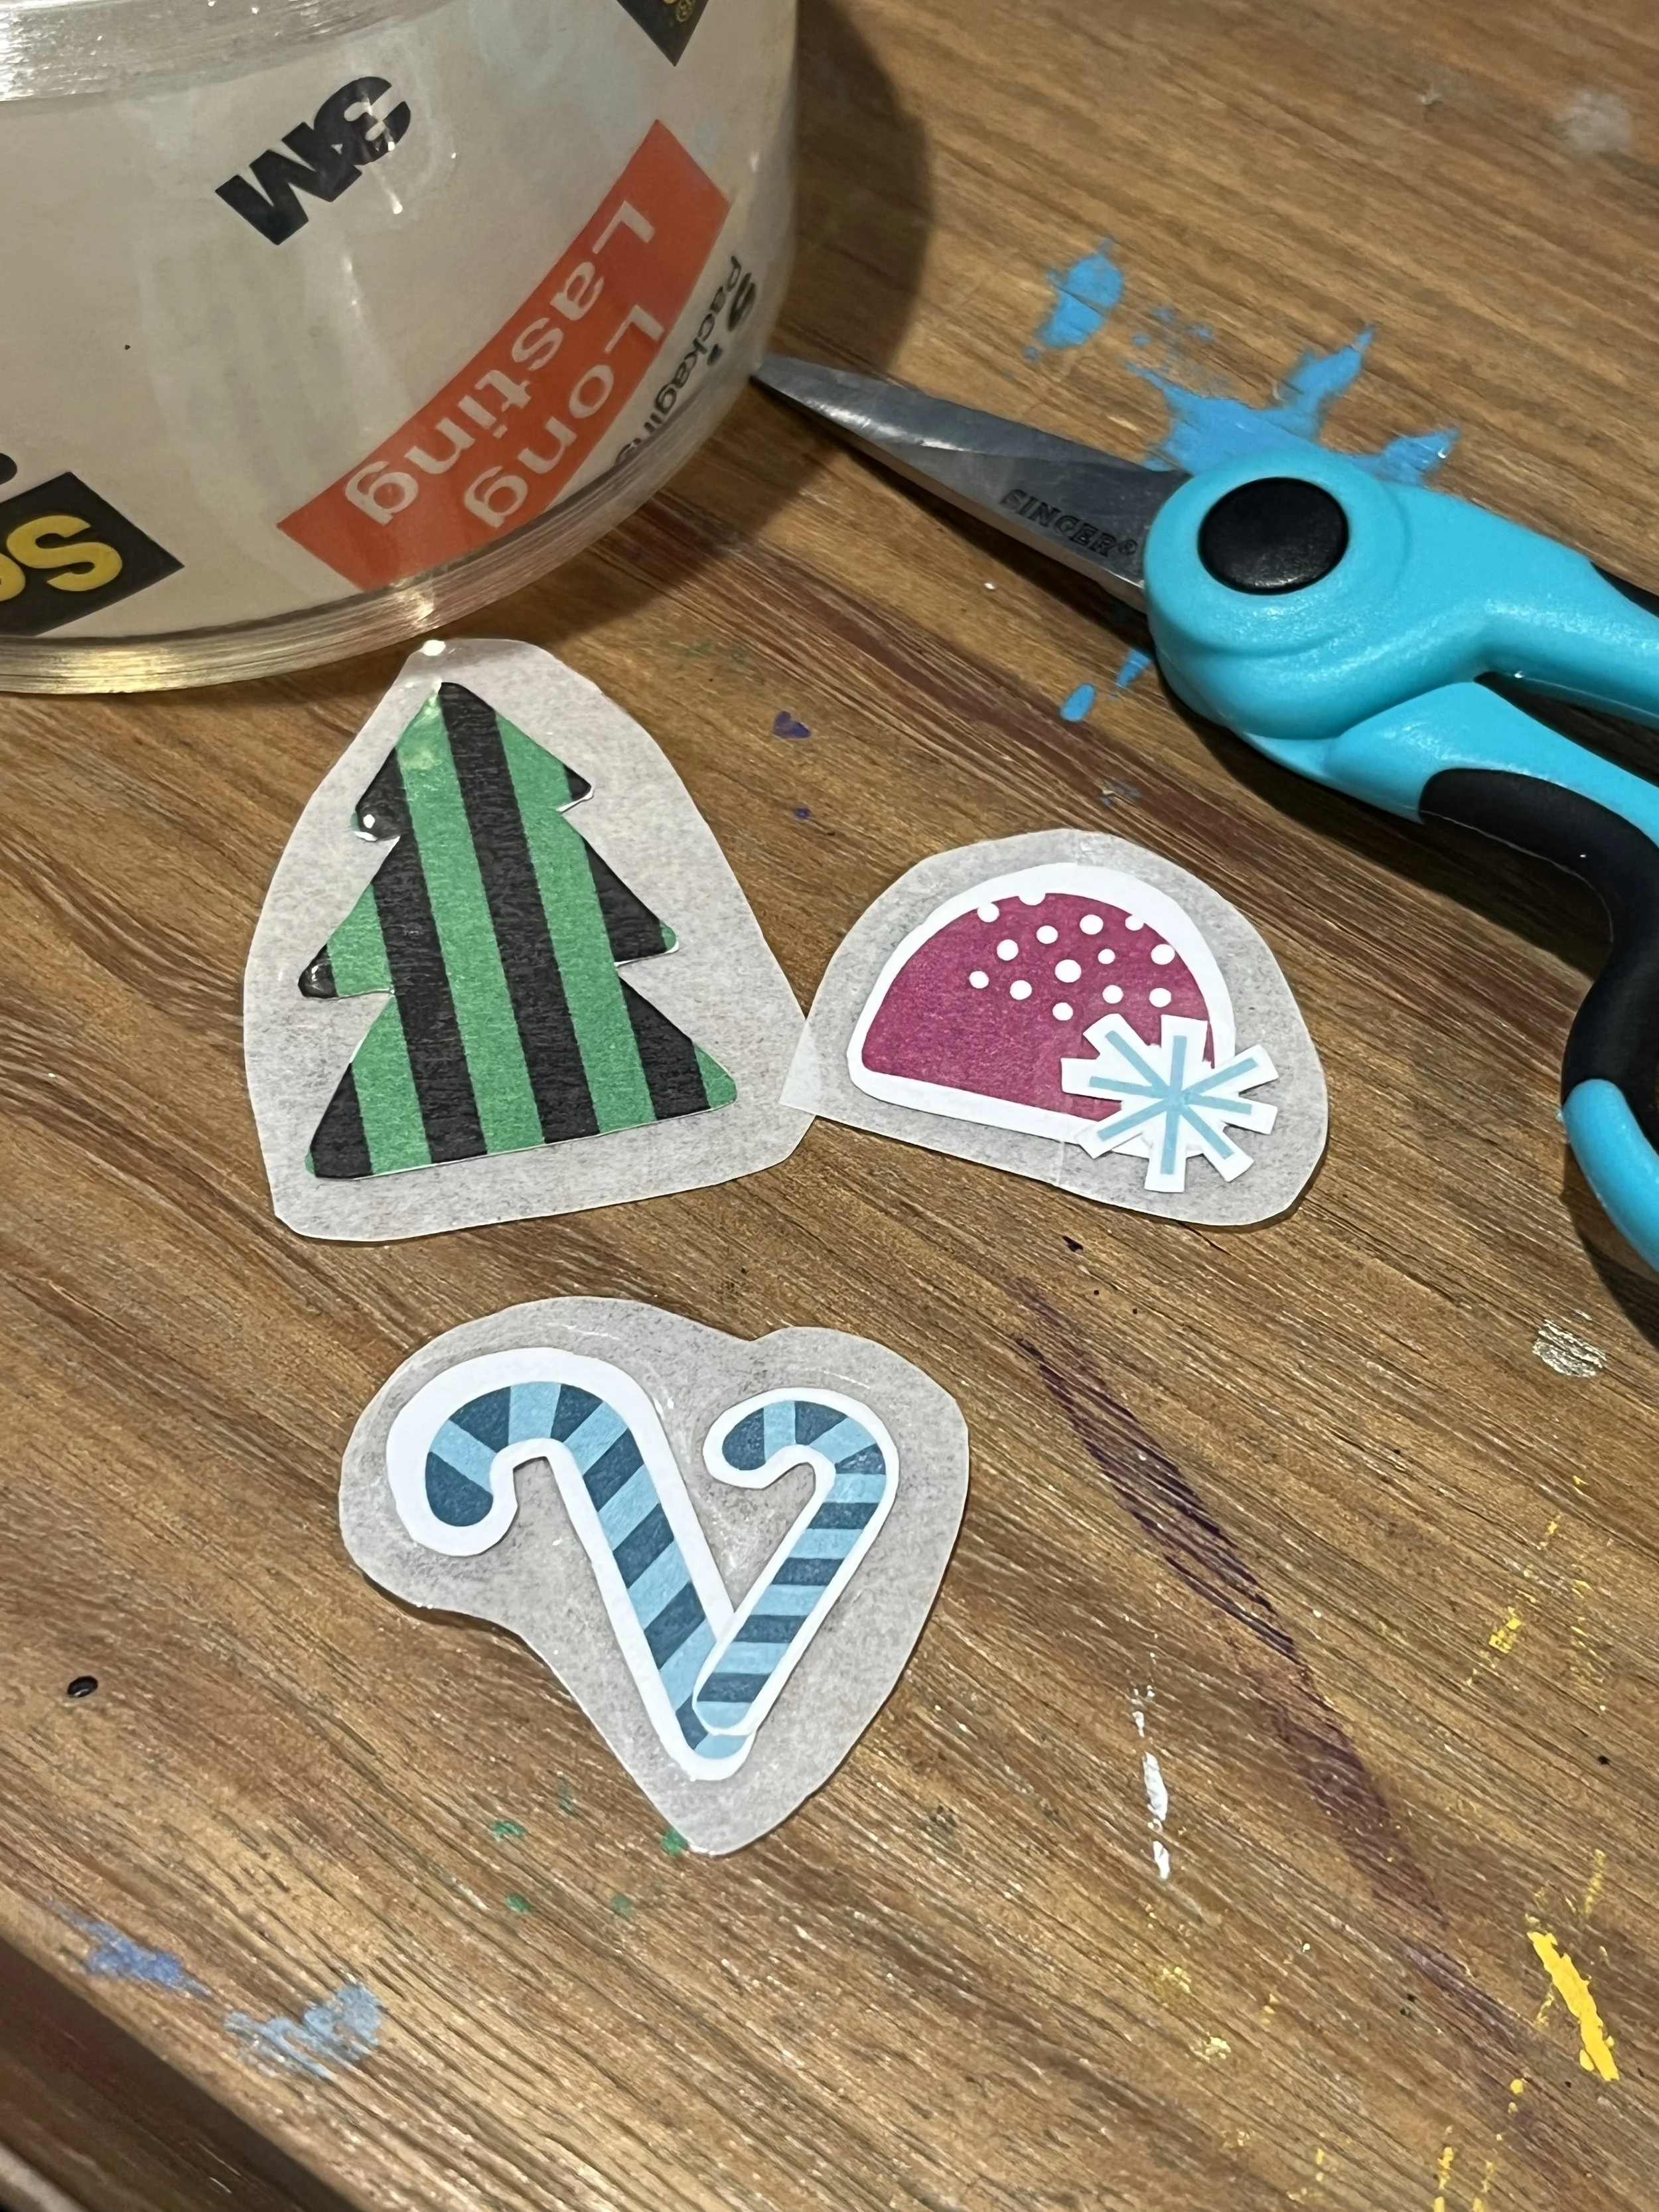
Day 5: Make Your Own Stickers
Did you know you can make any piece of paper into a sticker with some packing tape?! We didn’t, until now! Give this a try with scraps of wrapping paper or anything that you wish was a sticker but isn’t (yet).
Source: Viola Lou Studio
-

Day 6: Rubber Stamp
You can make your own rubber stamp with a classic pink eraser. Such a fun thing to try out!
Source: Craft Crew LA
-
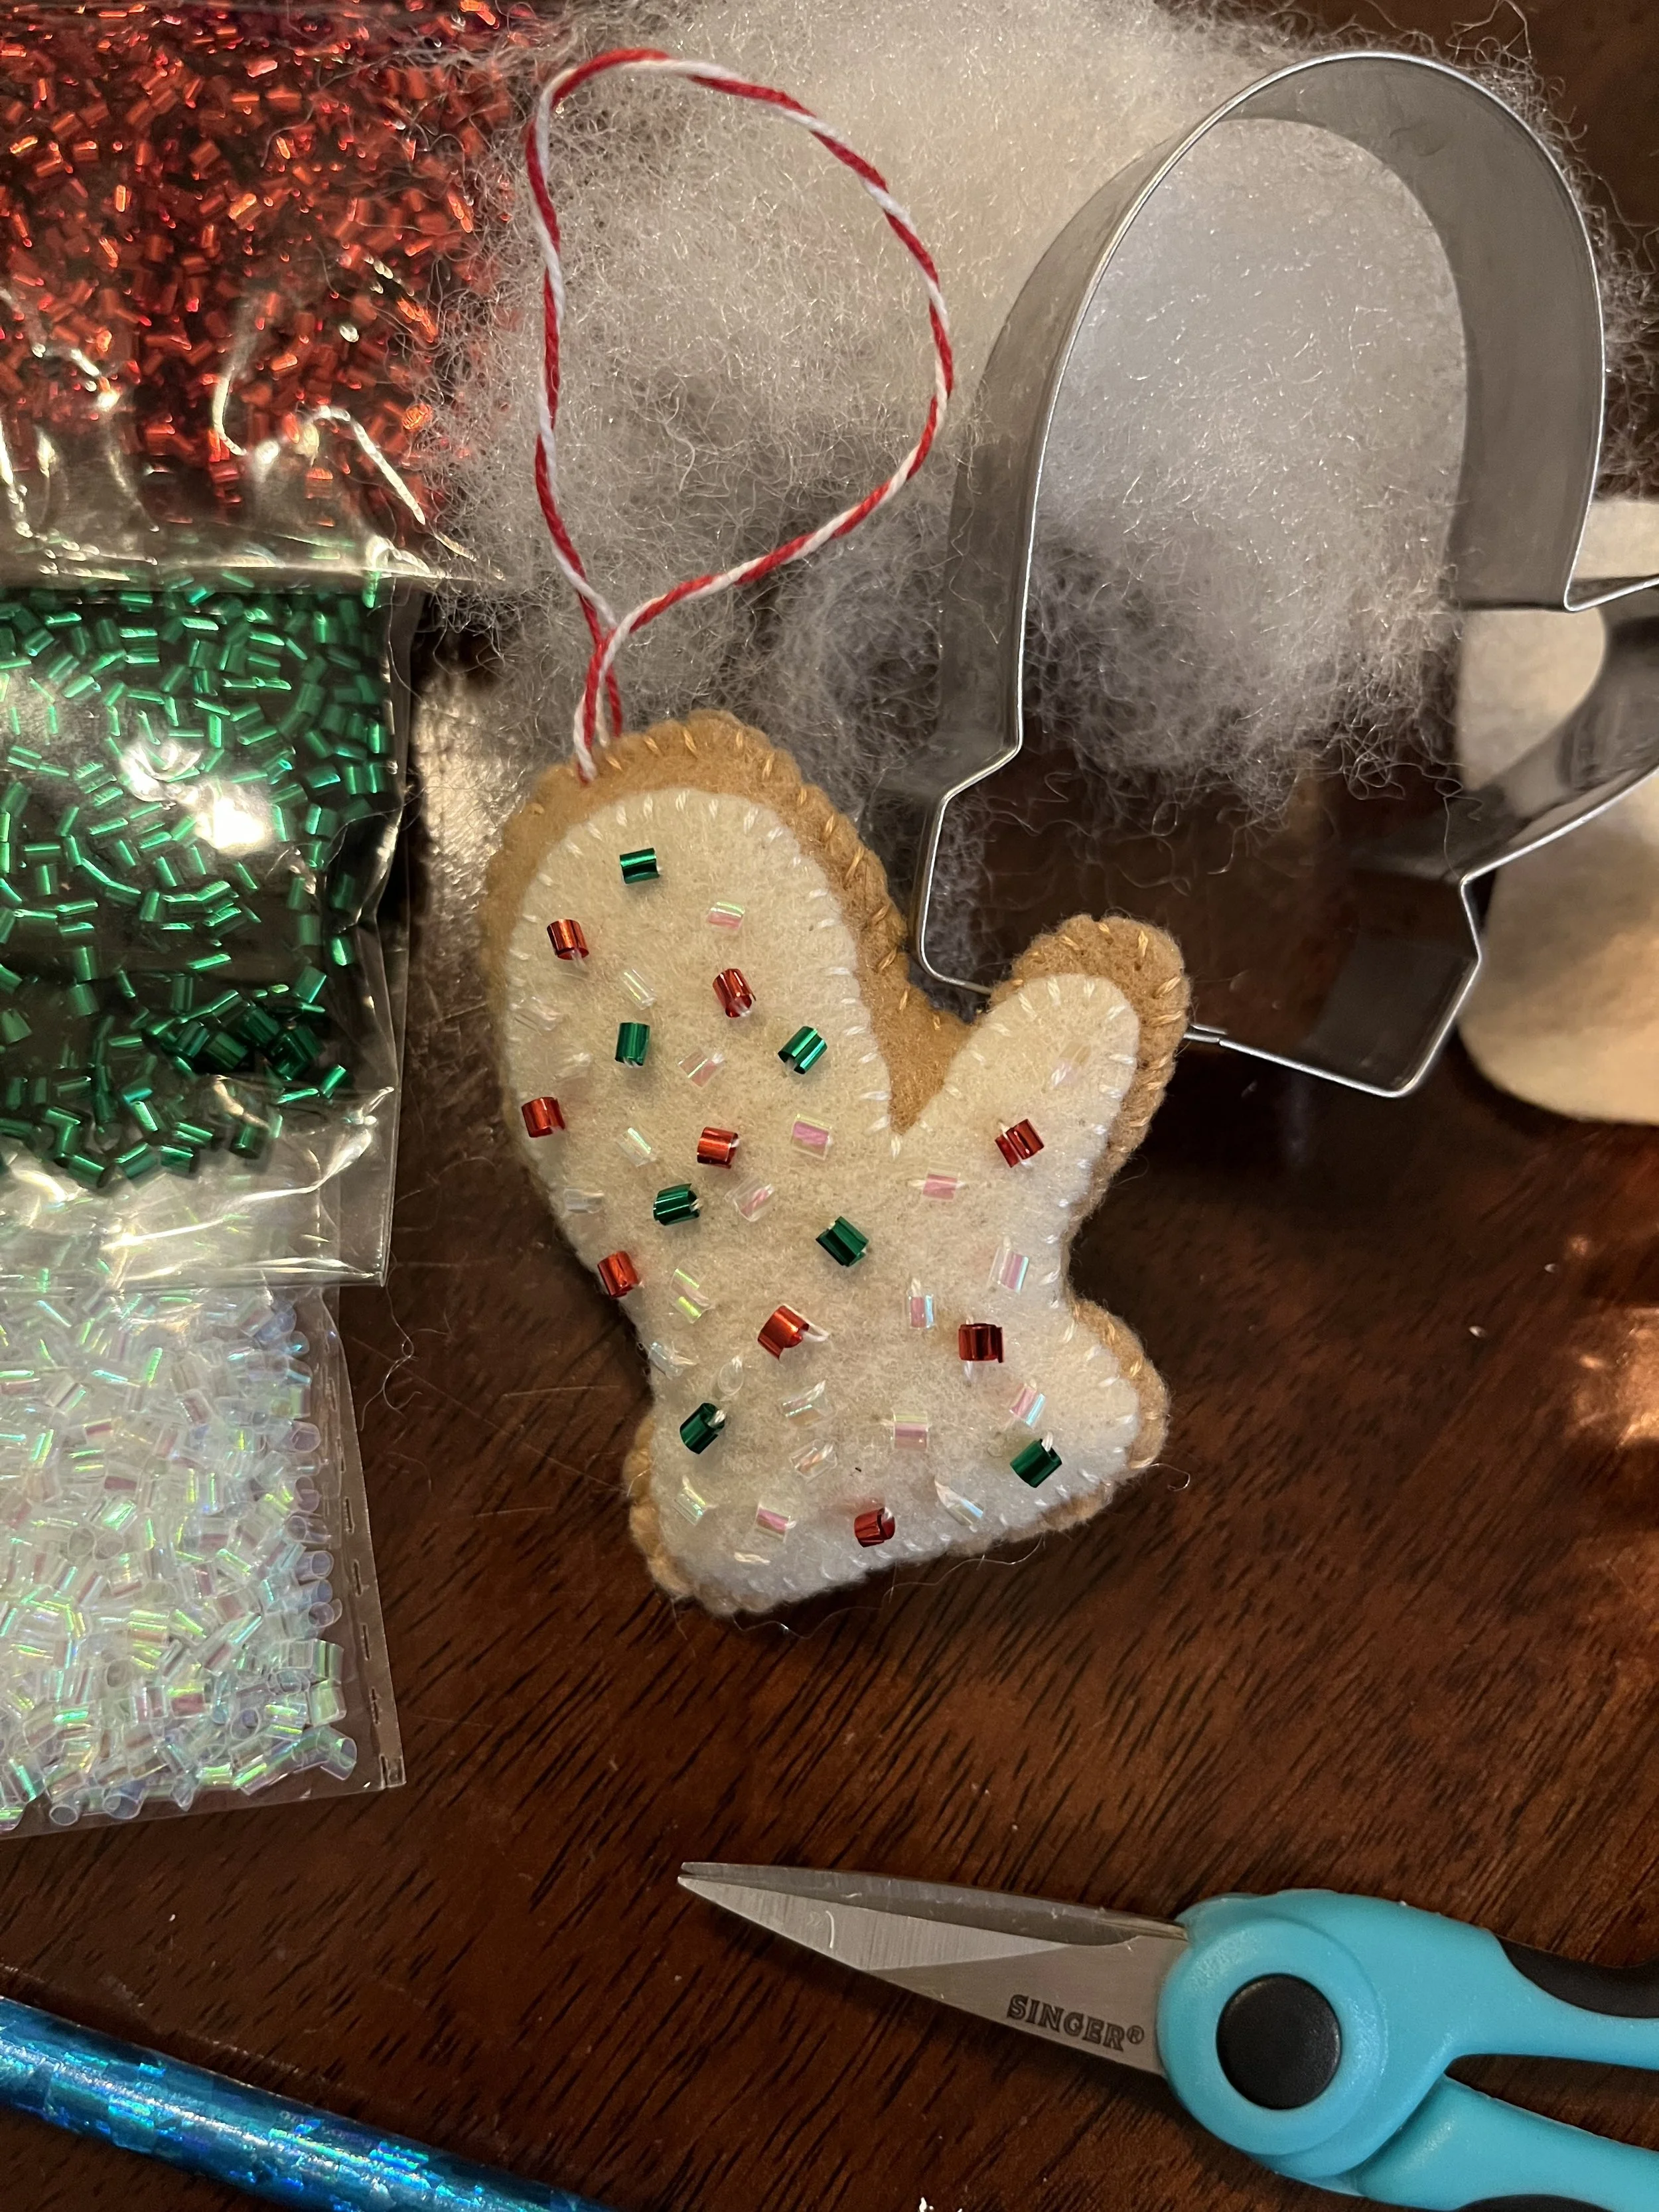
Day 7: Felt Cookie Ornament
These adorable cookie ornaments are fun to make and look so cute on the tree. Our tip: use cookie cutters for your shapes! You can trace the outline for the cookie and trace the smaller inside edge for the frosting.
Source: Dans le Lakehouse
-
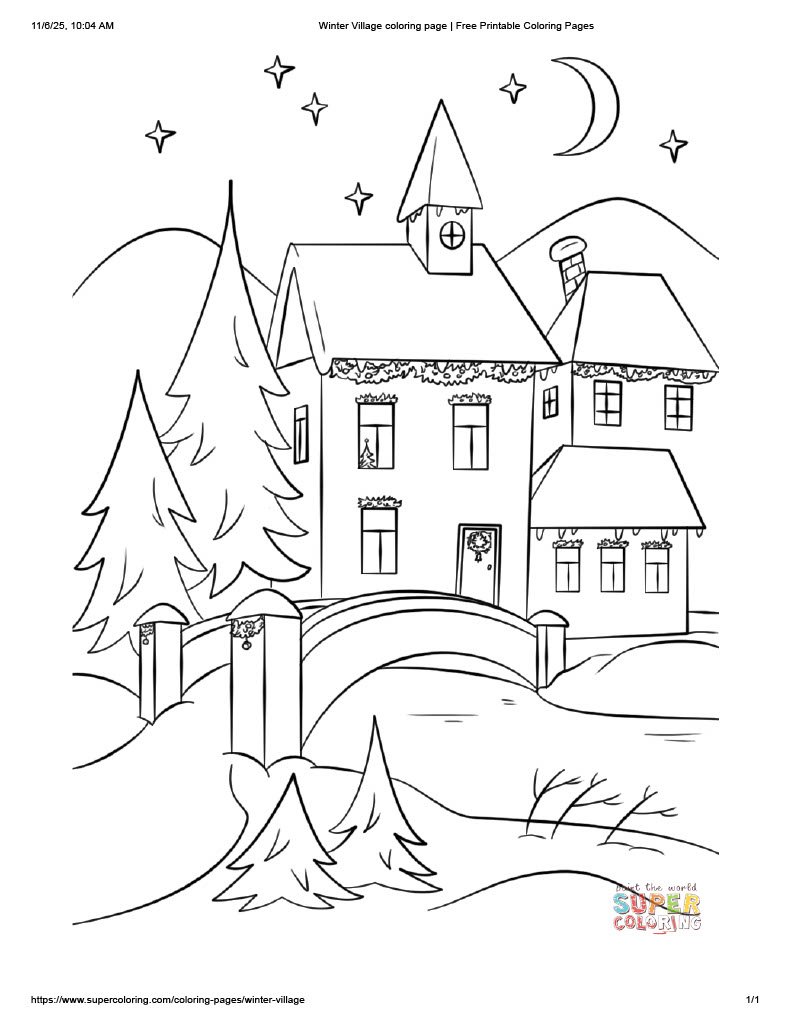
Day 8: Coloring Break
Nothing elaborate here. Just take a break and color! We love the idea of using just one color to make it even simpler and still satisfying. We got the idea from an ad for the Still & Slow Advent Coloring Book ($22.90). We have a couple coloring pages in our Templates download at the top of the page or just use your own!
Direct links: Super Coloring, Freepik
-

Day 9: Winter Diorama
Who else loves tiny things? Nab a few items from the dollar store or get scrappy and see what you can repurpose from your craft stash and even a few tree clippings.
Source: DIY Beauty on Purpose
-
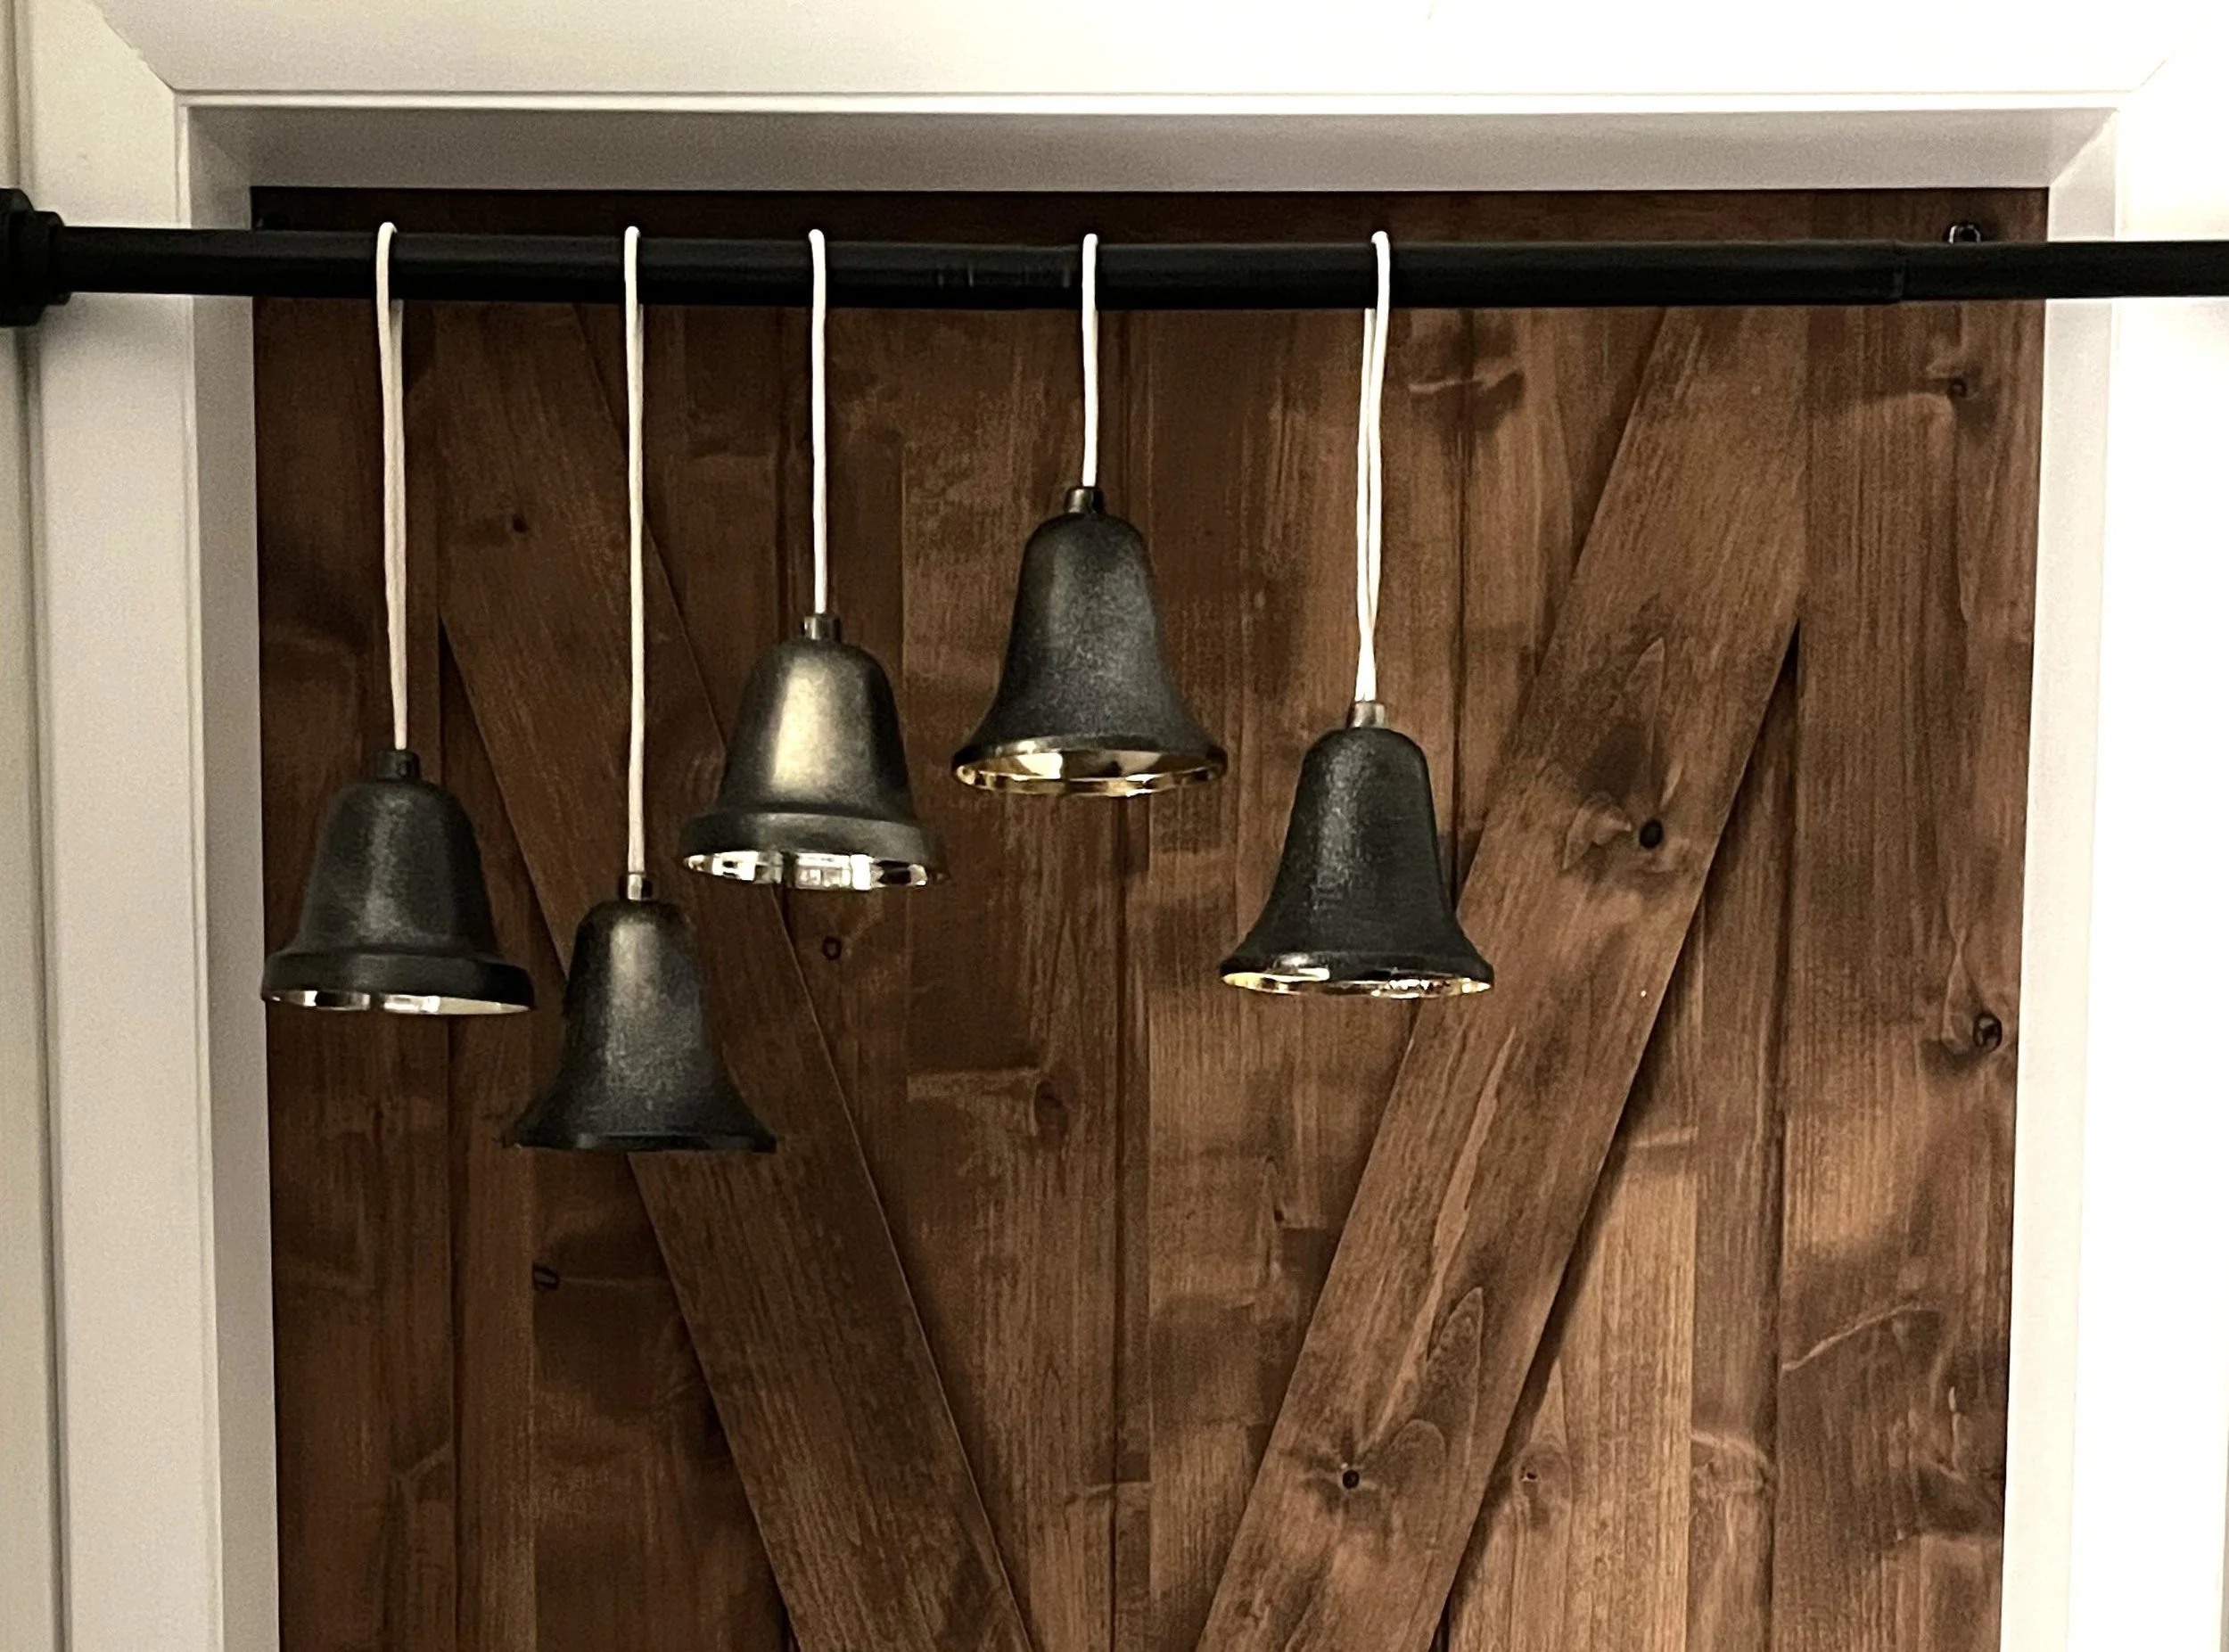
Day 10: Tension Rod for Decorations
Such a smart hack! Use an adjustable shower rod or tension rod to hang bells, baubles, or a garland and you can hang it anywhere without damaging walls. We spray painted a set of dollar store bells, and think a garland needs to enter the scene, too. What do you think?
Source: Flipdaddie
-

Day 11: Sew a Stocking
Making your own stocking is absolutely possible in one day. This beginner friendly tutorial shows you how.
Source: Heirloom Sewing
-
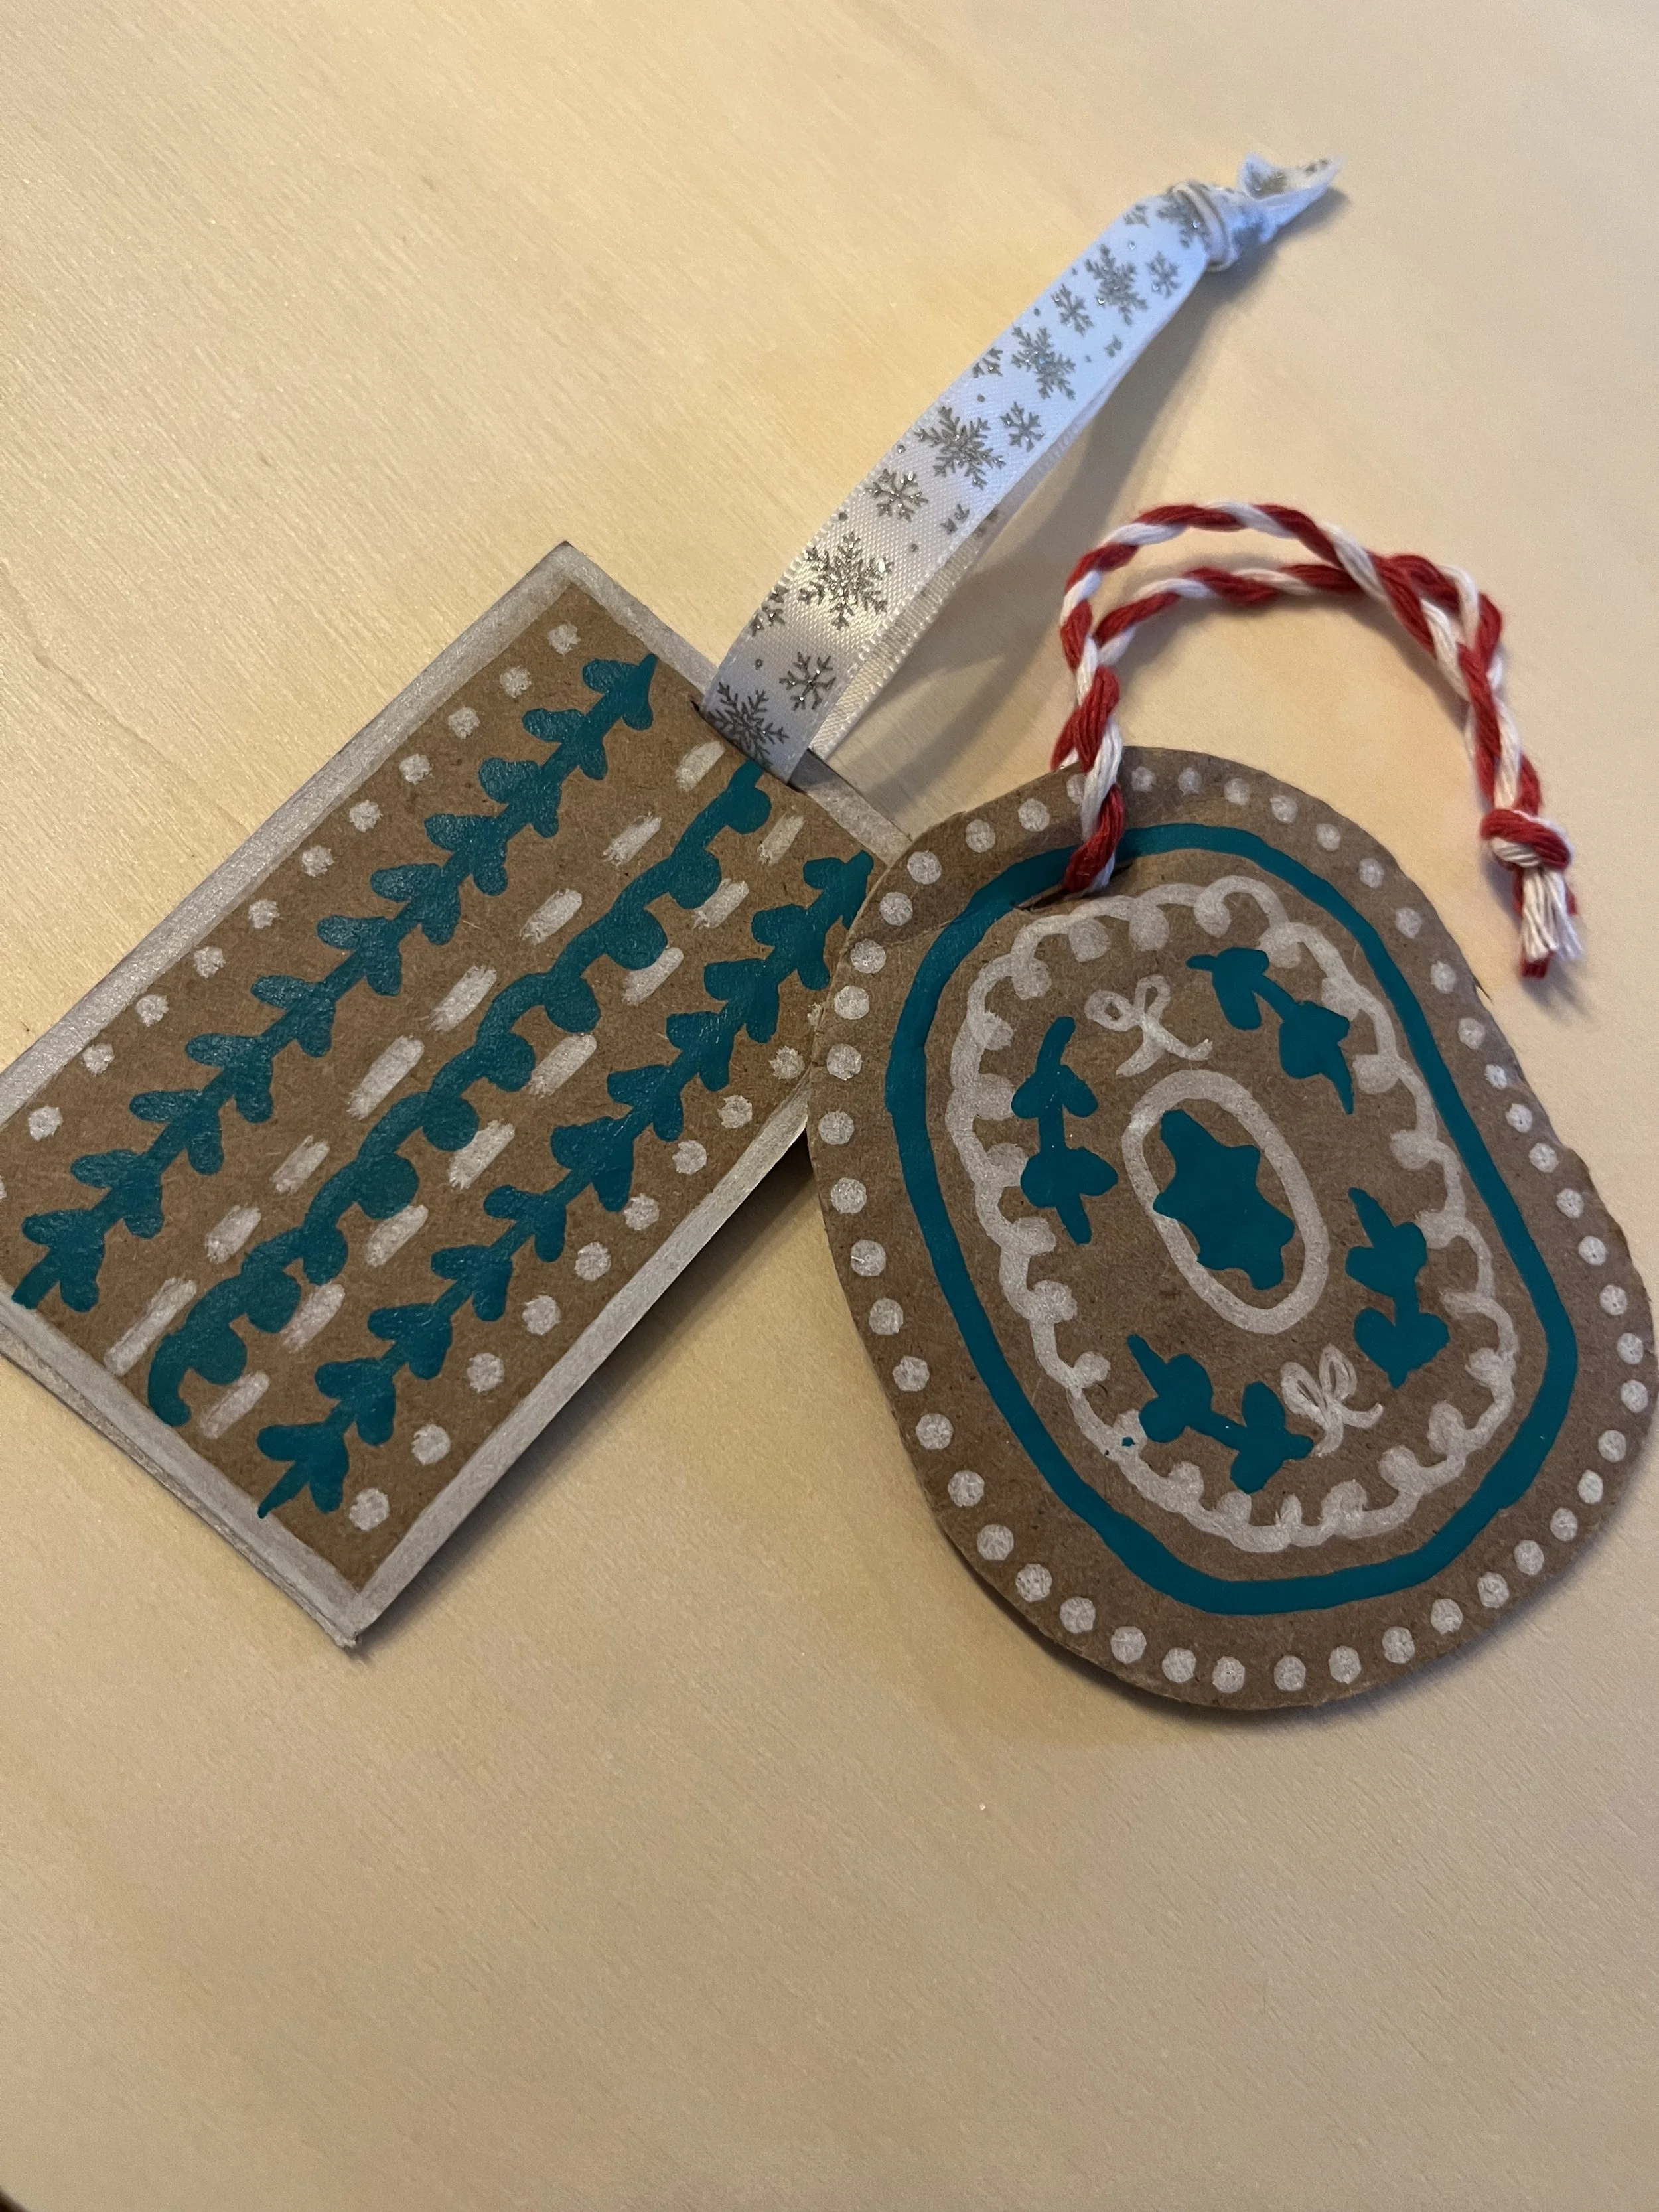
Day 12: Cardboard Gift Tags & Ornaments
Put all those boxes to good reuse as gift tags or ornaments. Cut out basic shapes and decorate with a paint pen or sharpie.
This is the first of a 3-day feature of projects by From a Bolivian, who made a wonderful holiday craft series last year!
Source: From a Bolivian
-

Day 13: Little Women Style Wreath
Make a timeless wreath to instantly spark feelings of warmth and welcome. Just like our beloved Little Women, you can also get resourceful and utilize scraps from your home and nature to assemble a charming decoration.
This is the second of our 3-day feature of projects by From a Bolivian.
Source: From a Bolivian
-

Day 14: Upcycled Ornaments
Want to upgrade a tarnished, damaged, or plain ornament? Perhaps you found some second hand and want to give them a new life. With some scrap fabric, or even patterned napkins, you can do just that.
The last of our 3-day feature of projects by From a Bolivian. We hope you’ve given her a follow and looked at more!
Source: From a Bolivian
-
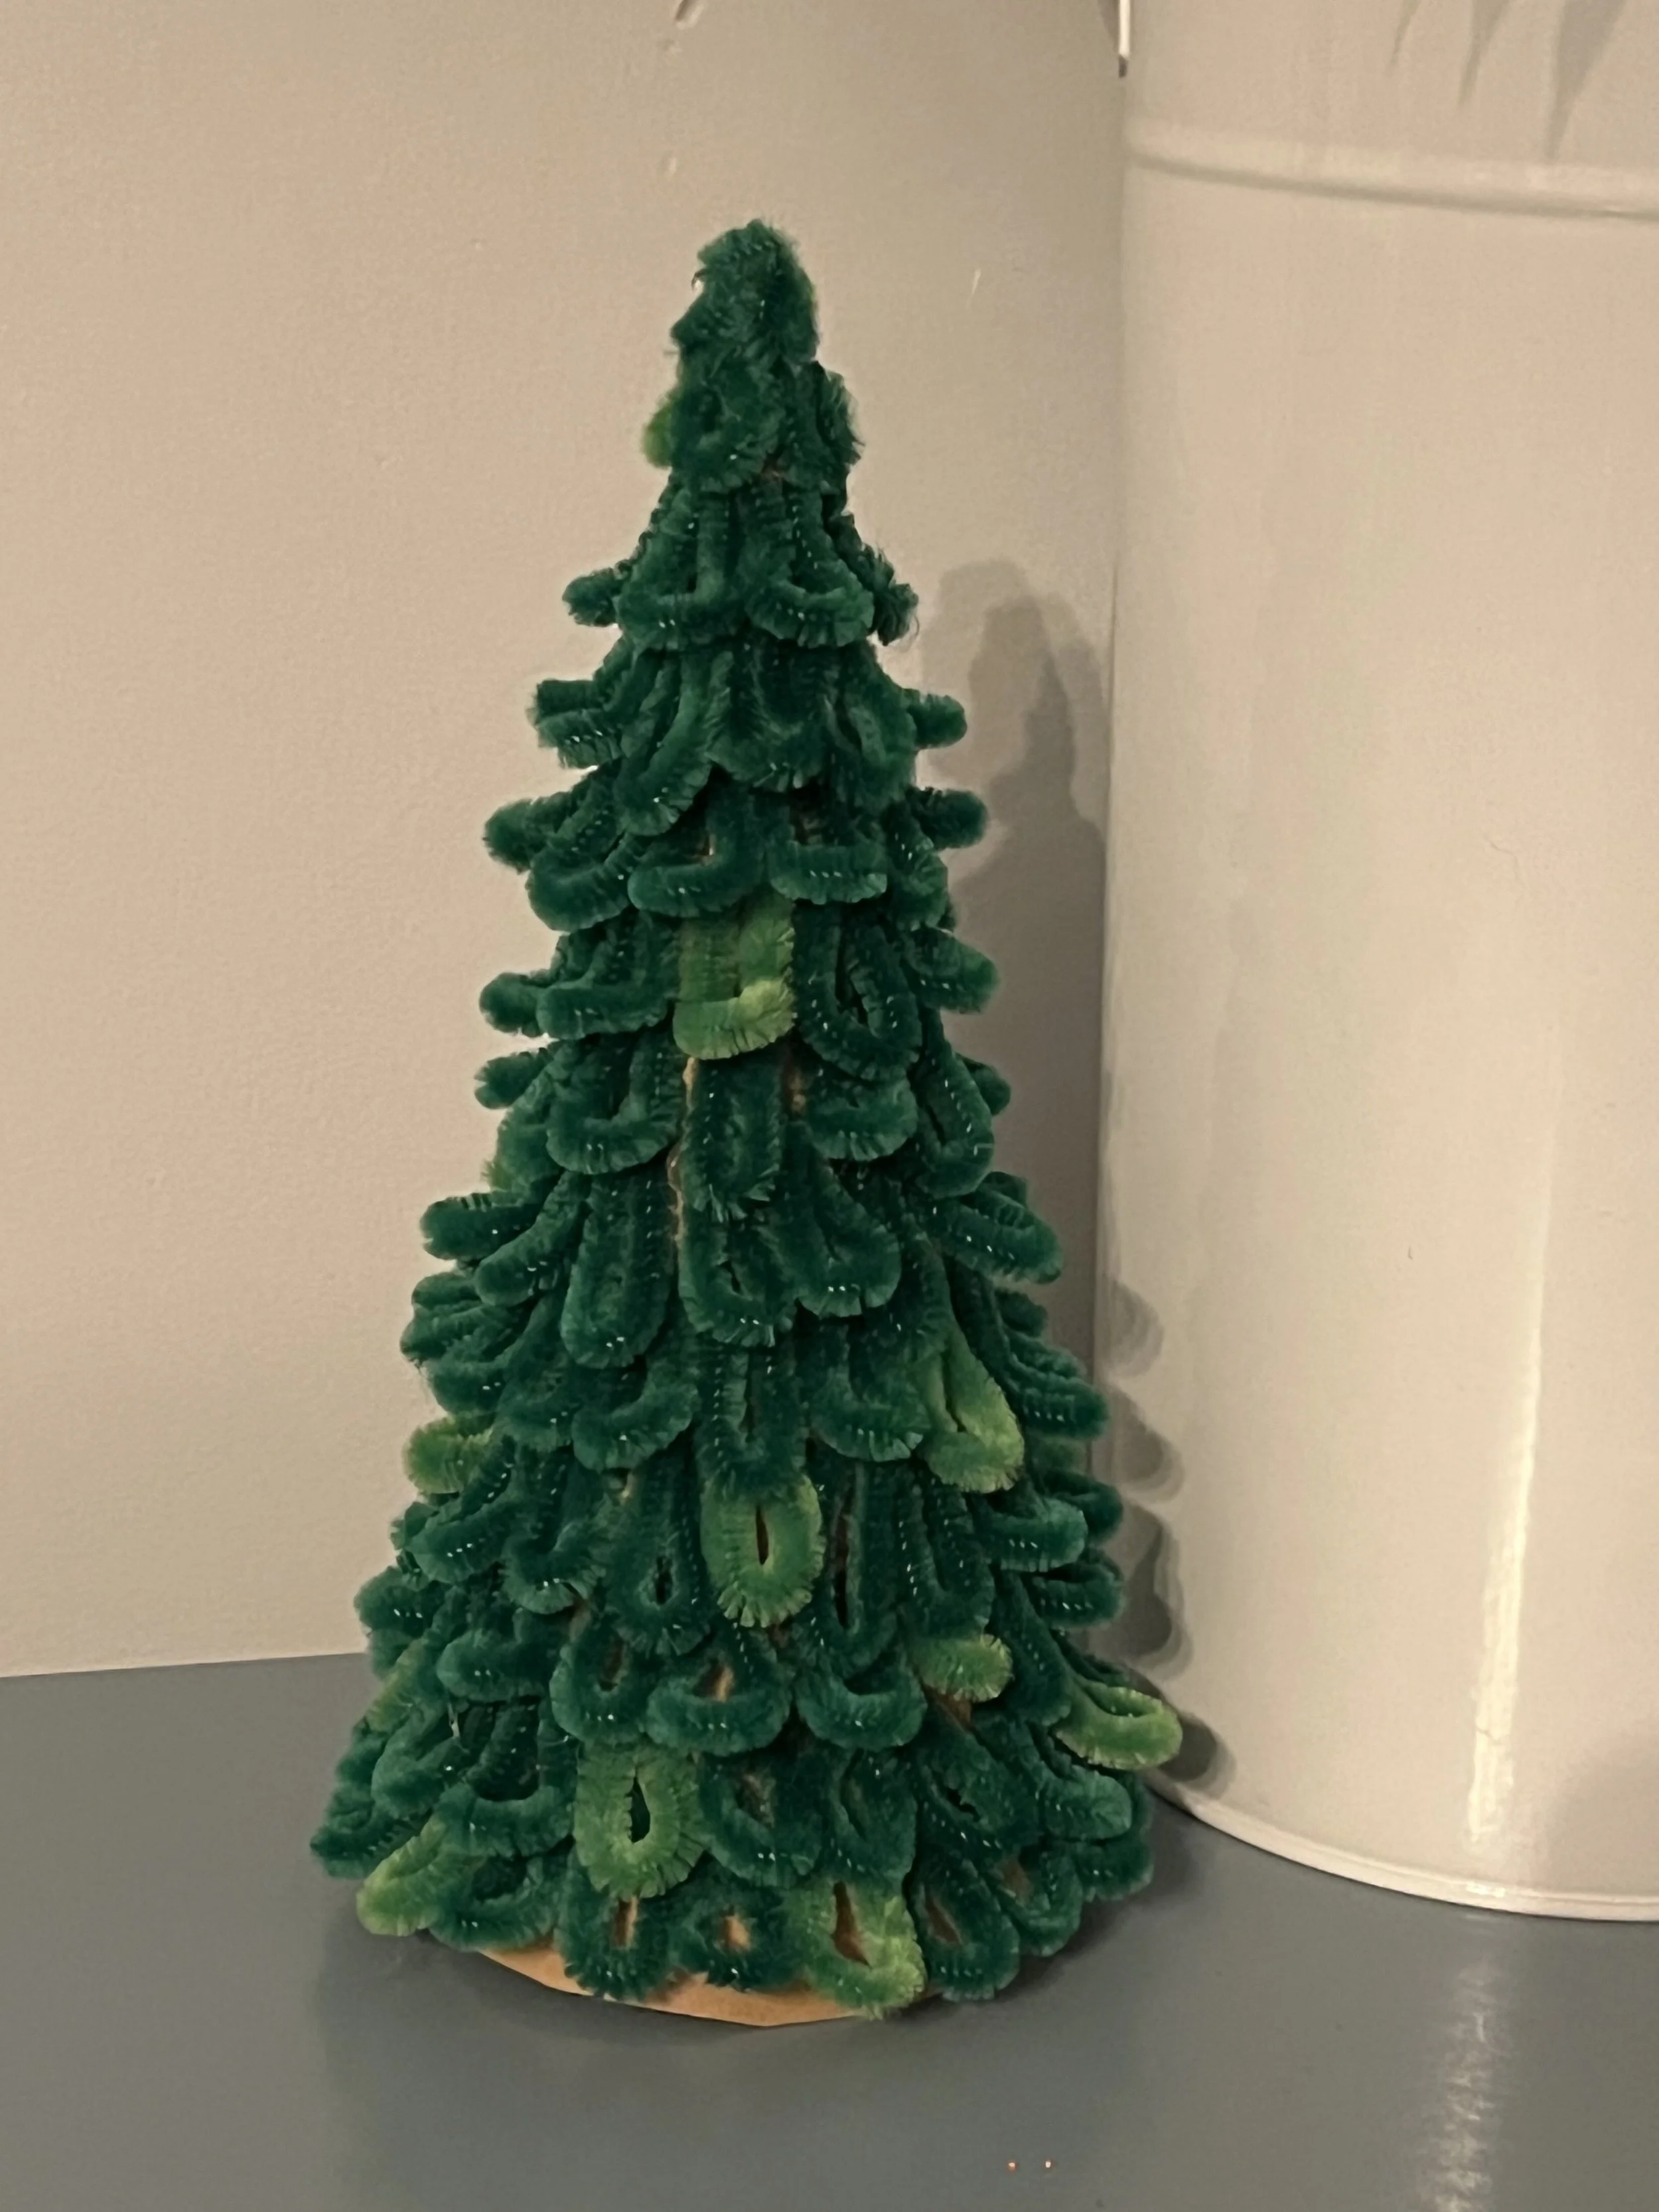
Day 15: Pipe Cleaner Trees
These aren’t your usual pipe cleaner trees. The small loops make all the difference. You can also use any beads or pom poms for the little baubles, add some fairy lights or even miniatures. Make it your own!
Source: Brittany Uranich
-
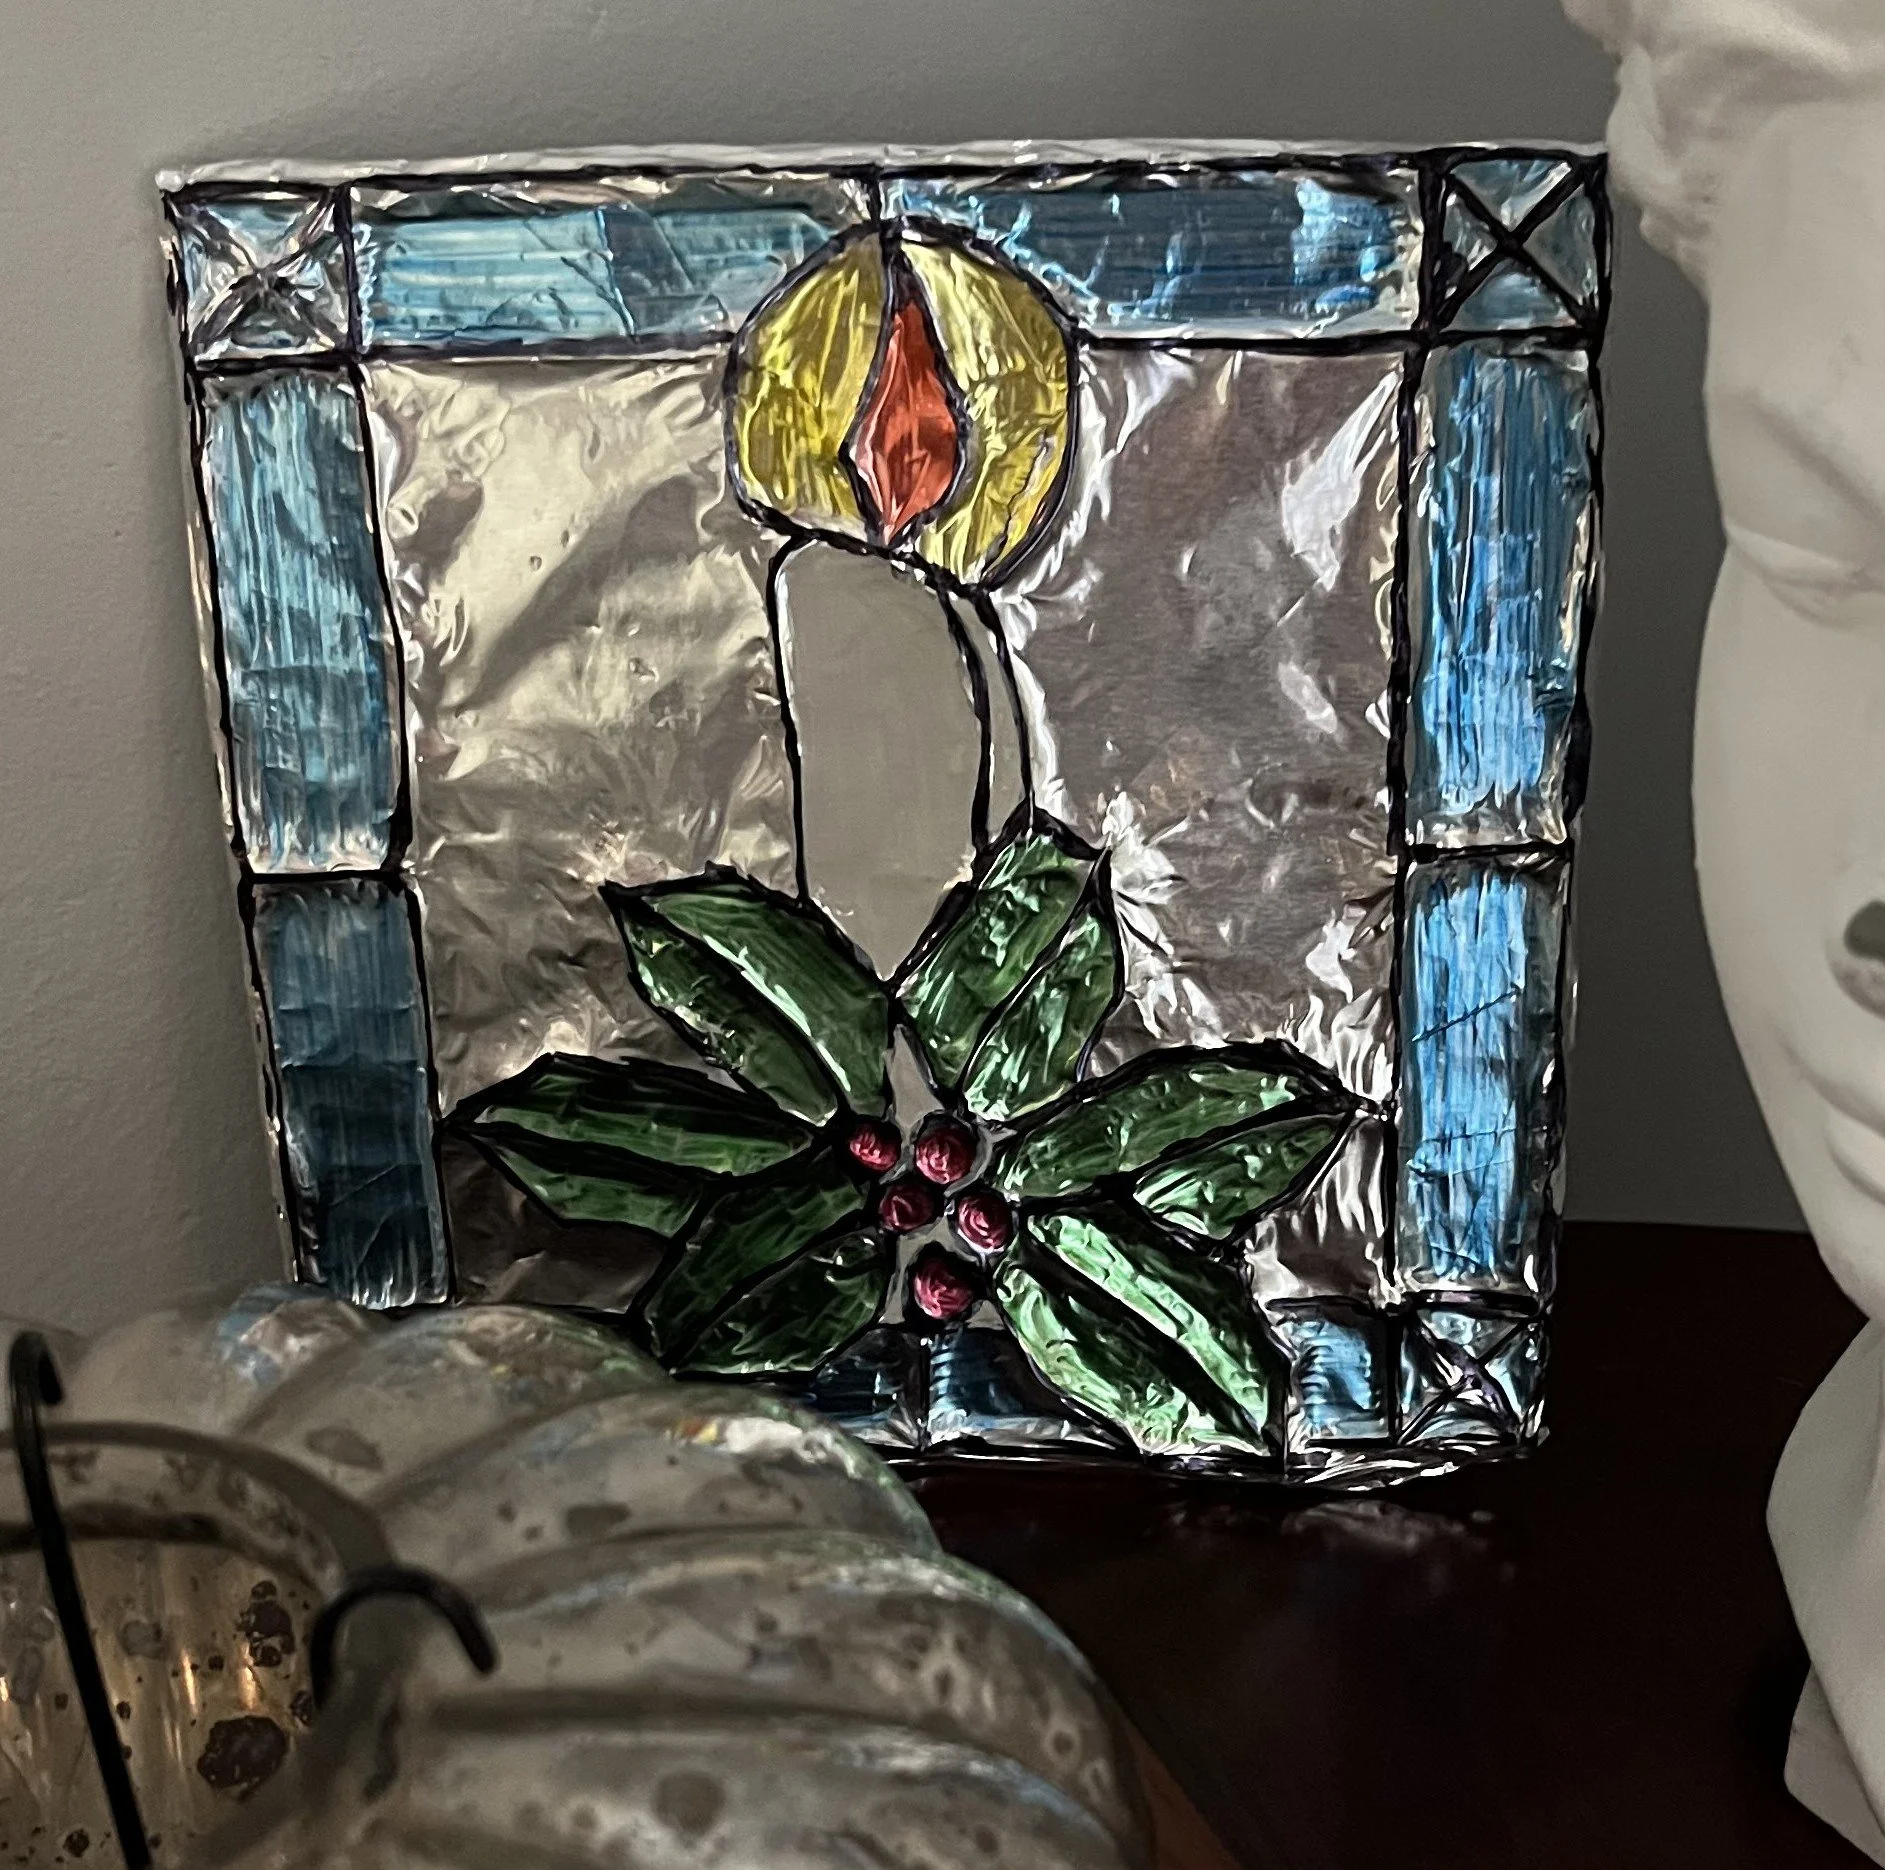
Day 16: Stained Glass Style Picture
The things we can make with hot glue and cardboard. Add some foil, color it in, and you’ve got a faux stained glass piece on your hands. We provide a prompt in our Templates button at the top of the page but you can use any design with this technique!
Source: Korynn Mangum
-

Day 17: Air Dry Clay Magnets
Making your own magnets can be so much fun. Once you get comfortable, there’s no stopping you! Other ideas- use cookie cutters for different shapes, make ornaments (be sure to cut out a hole to hang it), or decorate with patterned napkins and mod podge.
Source: Fergalicious111
-

Day 18: Cardboard Holiday Village Garland
Another opportunity to use those cardboard boxes! Make a cute winter village to either string on a garland, or as a stand up version.
Tip: If you can’t find puffy paint, you can get white caulk at the dollar store and it also works great for this craft. Really!Source: Abby_twinmom
-
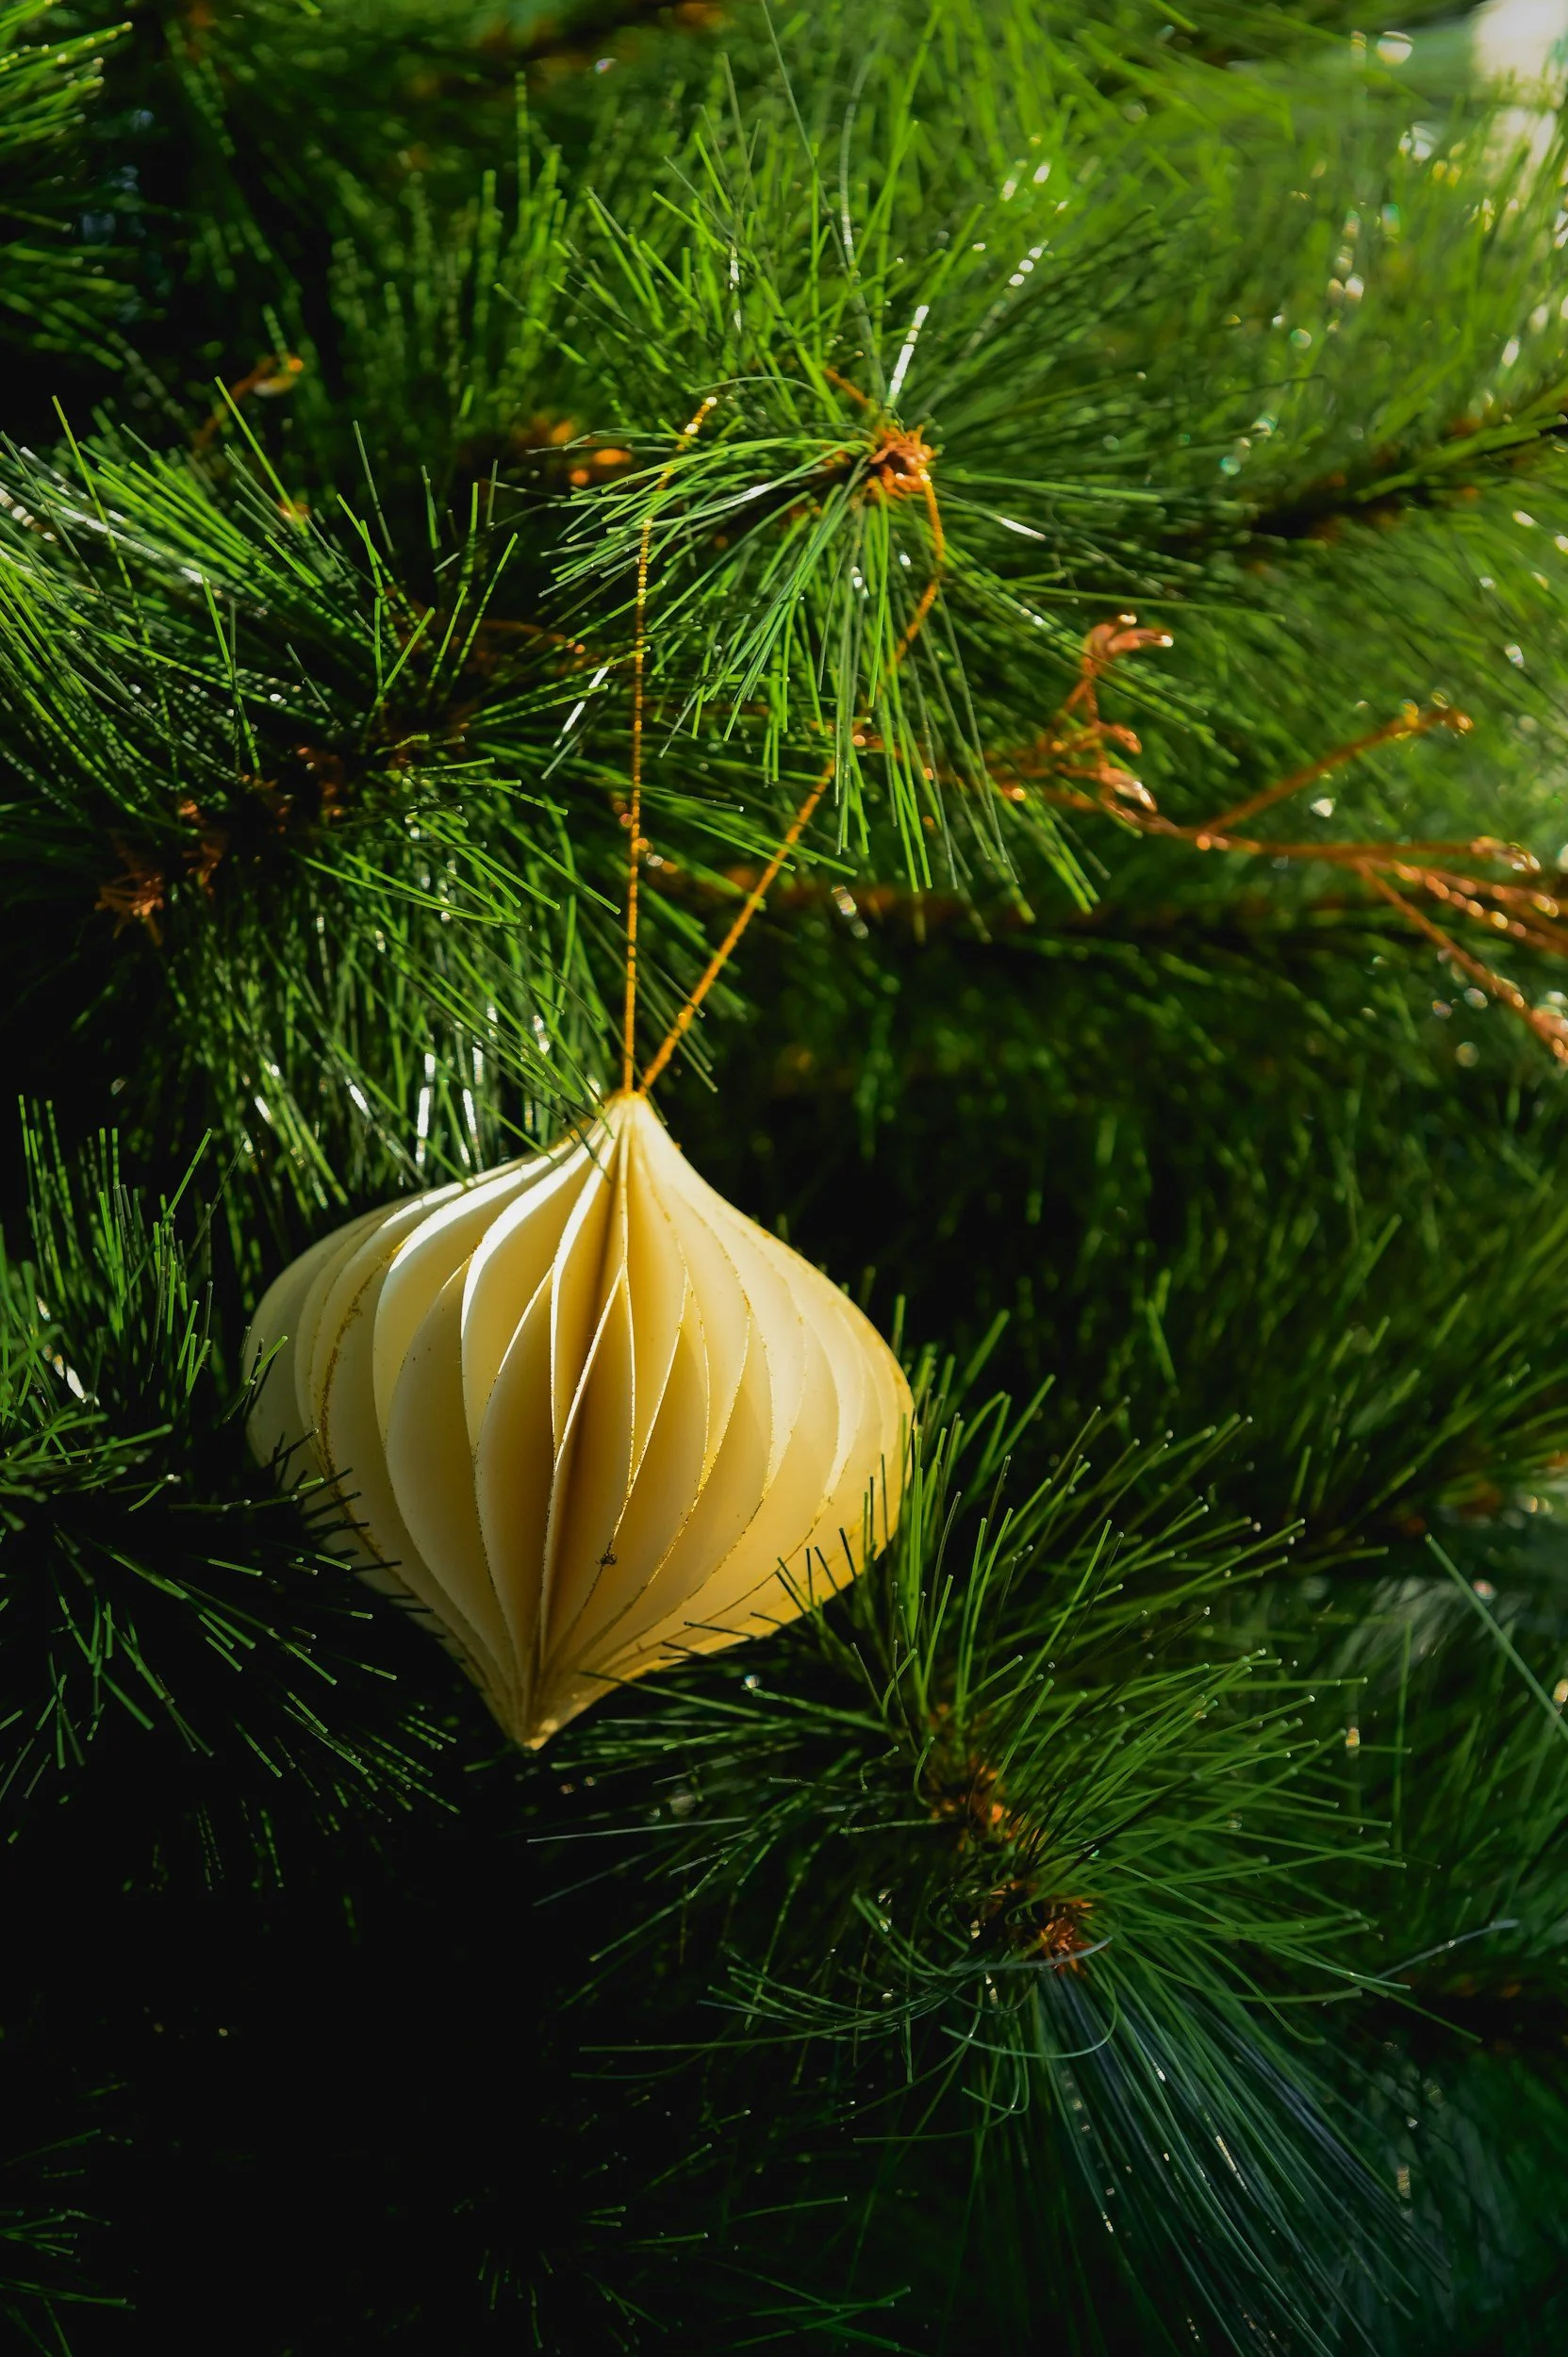
Day 19: Honeycomb Ornaments
These oversized paper baubles will add instant wow to your decor. Velcro dots are helpful, and you can get them at the dollar store. You can also simplify this project and just use paper and glue to still achieve a fantastic result.
Source: That’s so Gemma
-

Day 20: Card Stock Gift Tags
This is a great way to repurpose scrap paper, especially those beautiful gift bags you keep saving and not using! You can cut simple shapes or use larger hole punch designs to make a lot of tags in no time at all.
Source: Via Creates
-
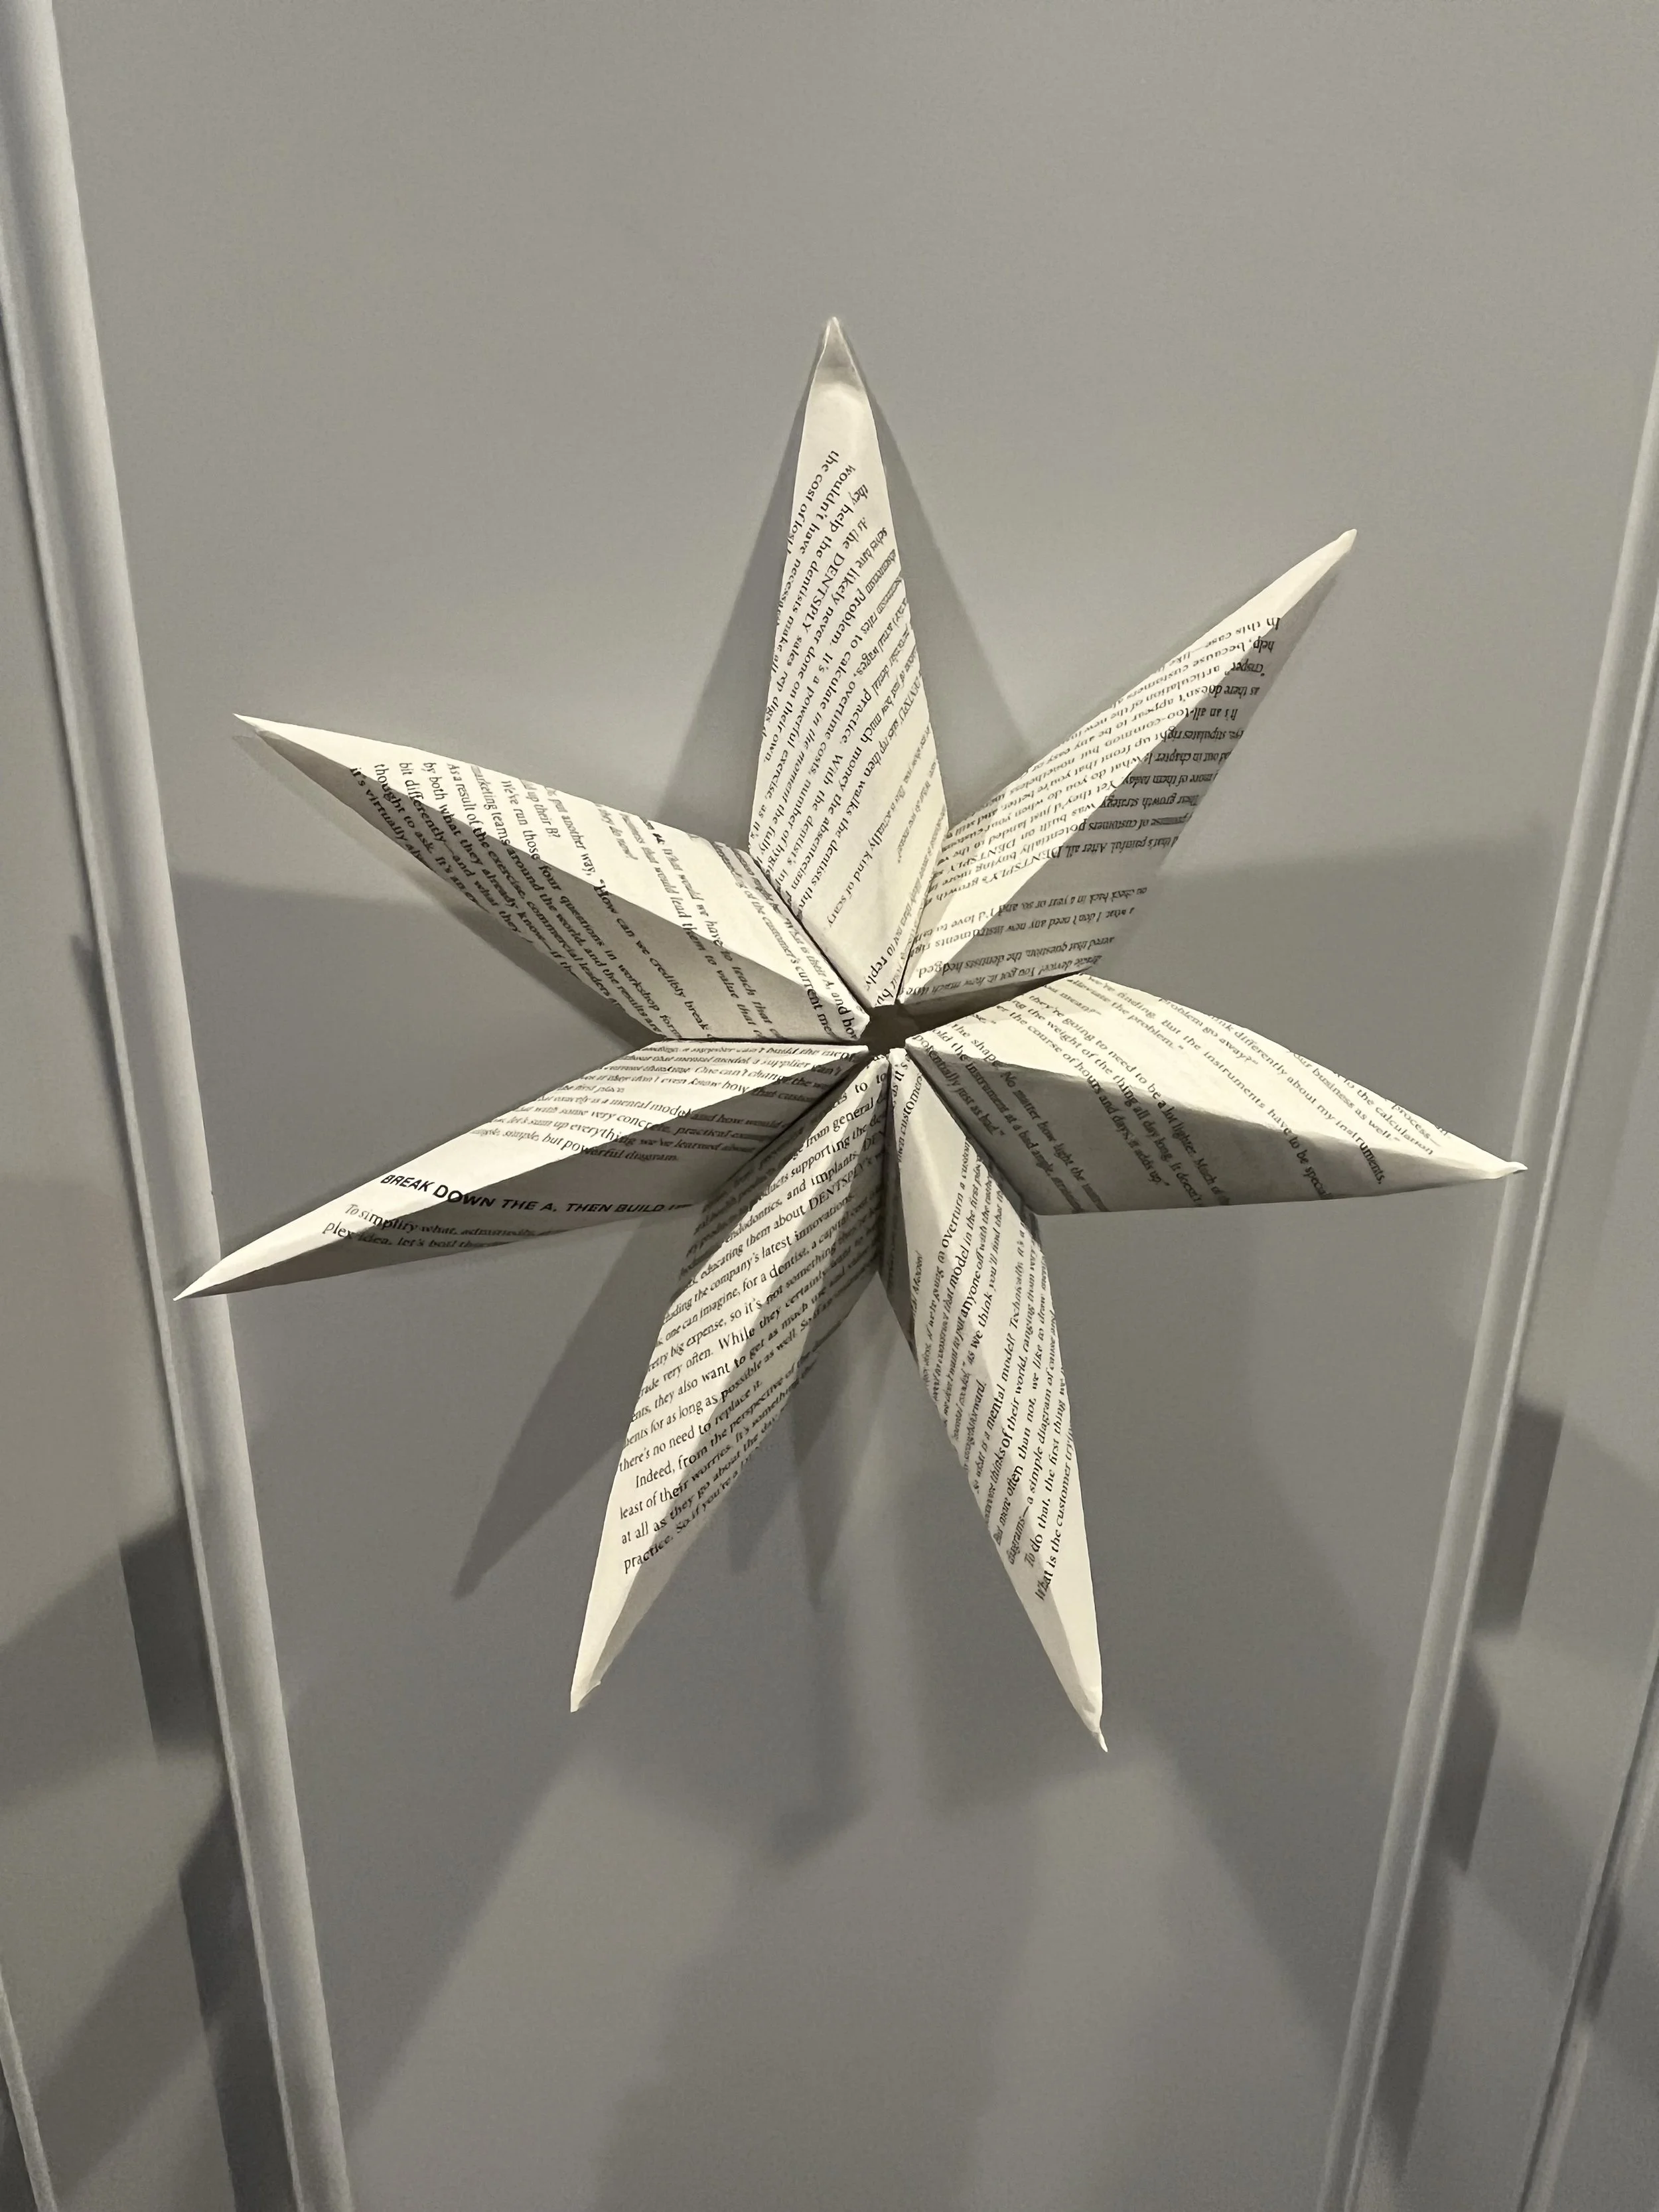
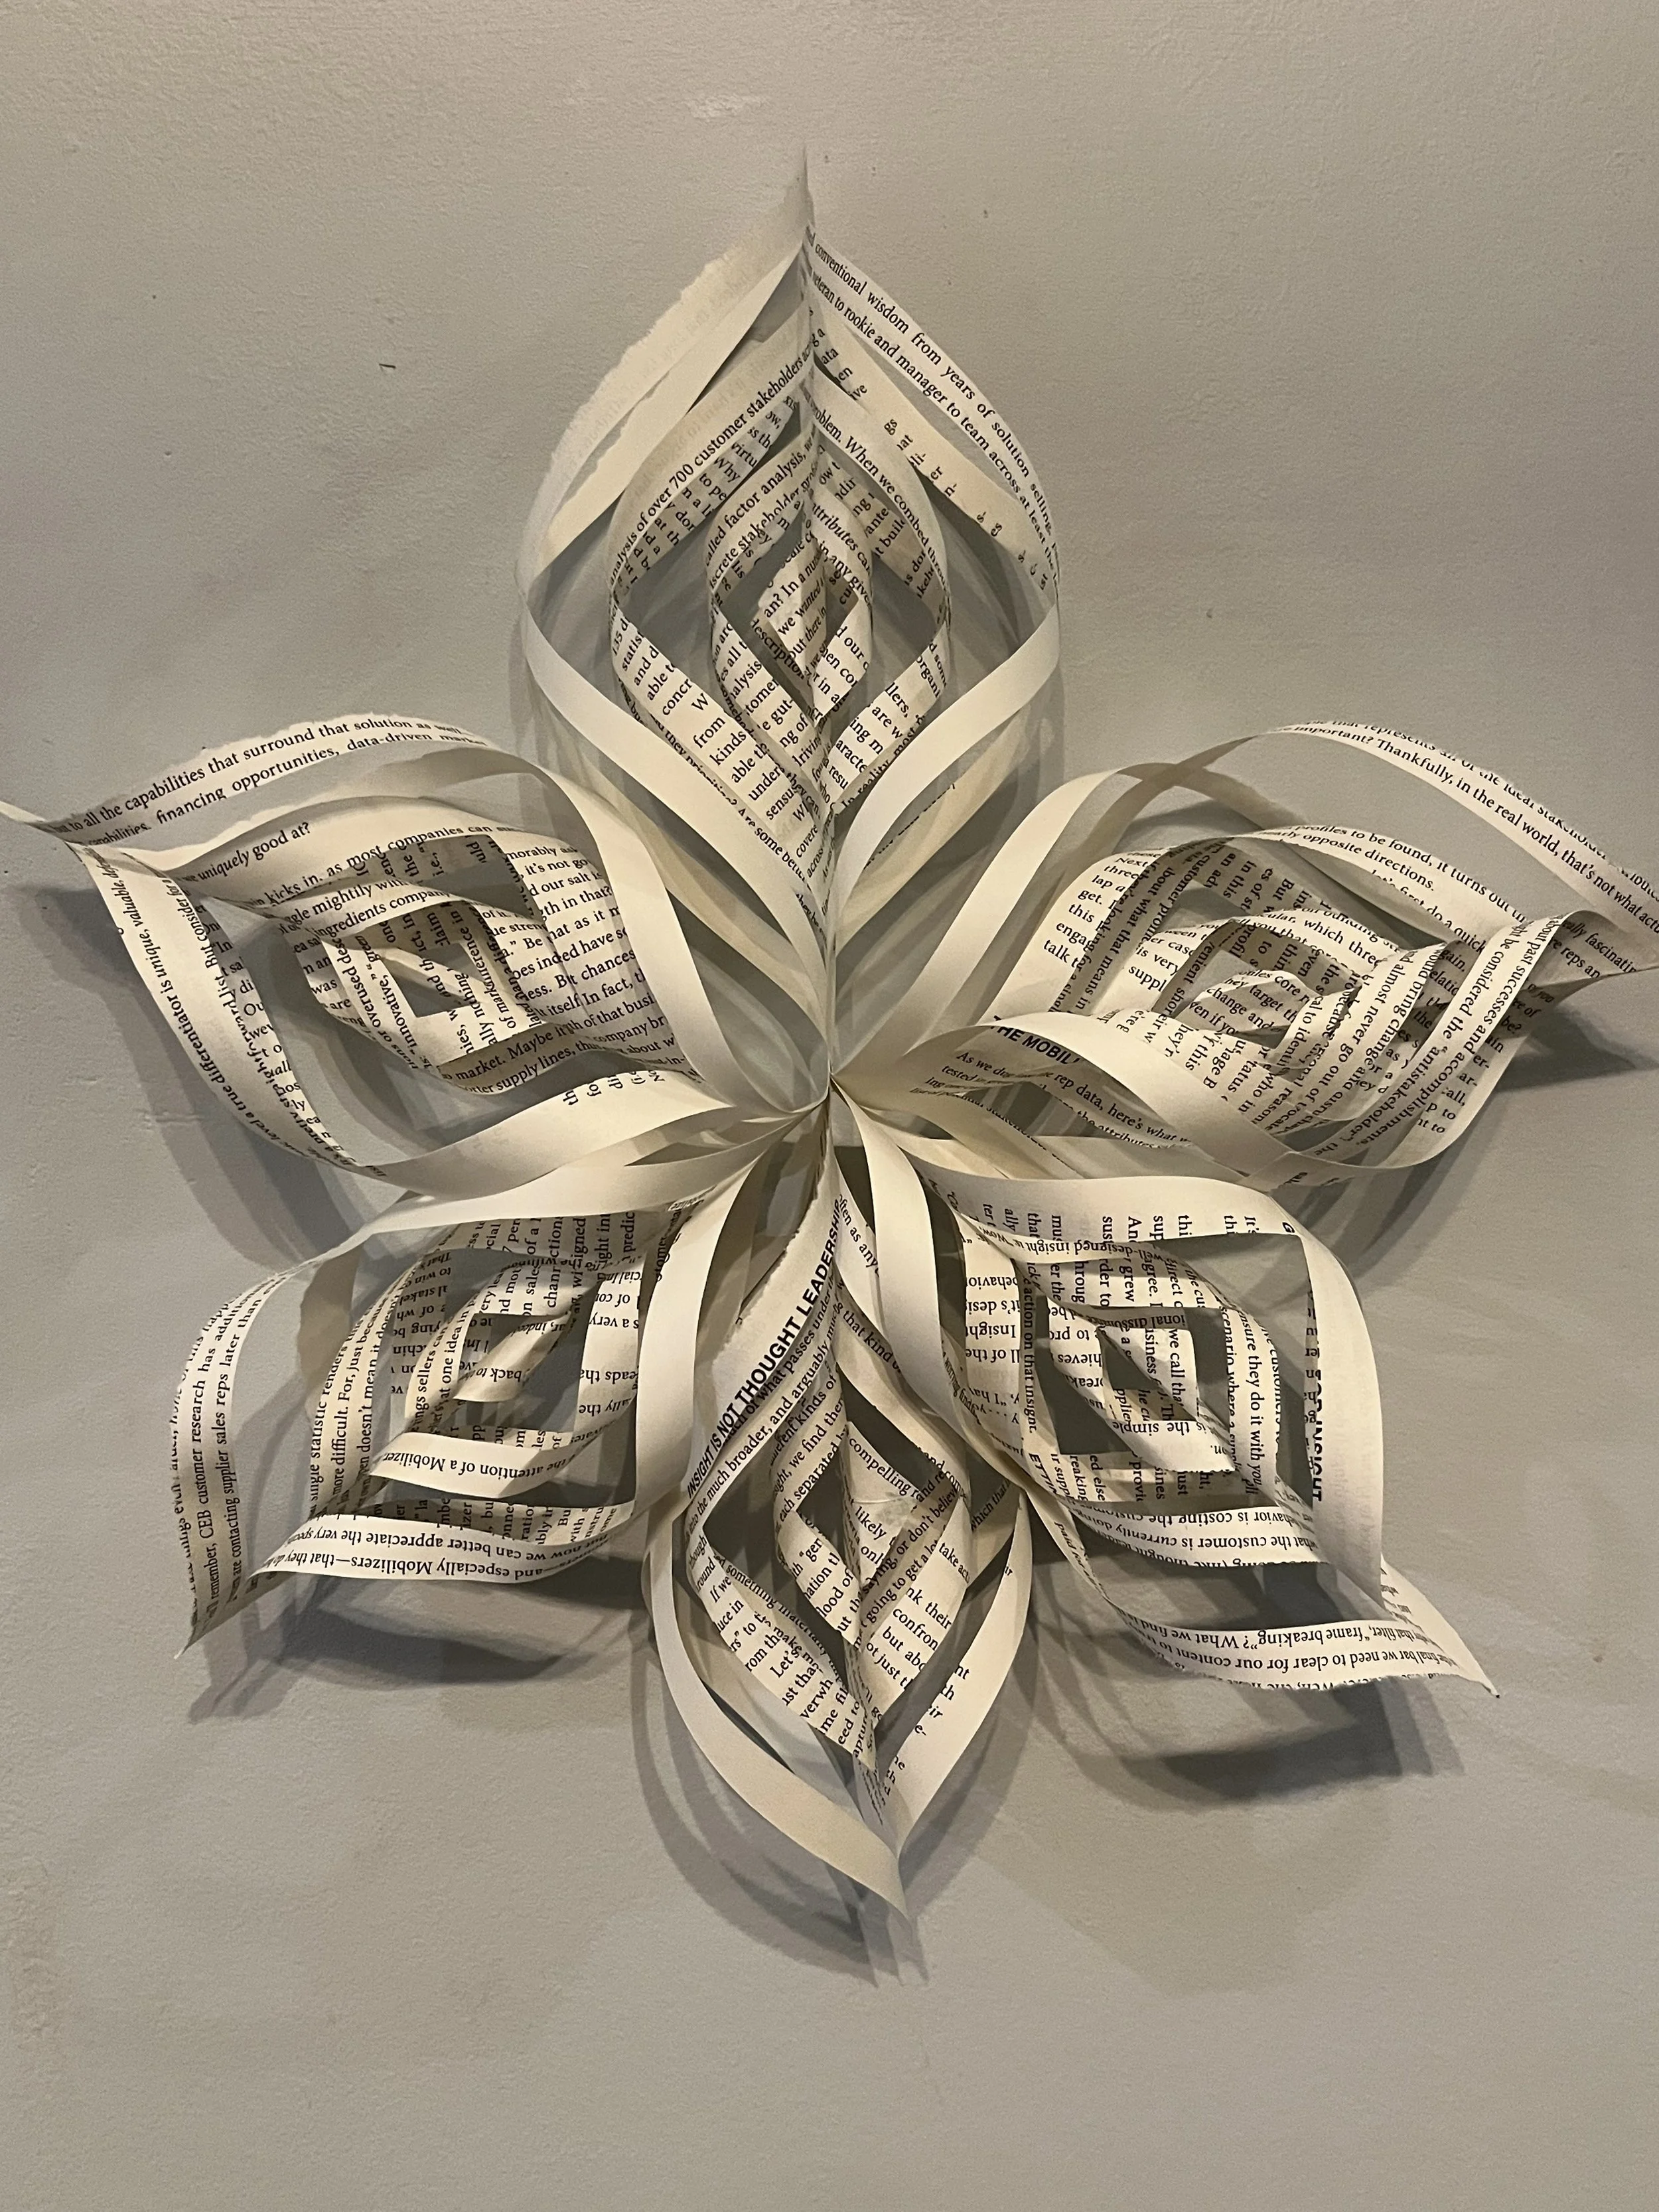
Day 21: Paper Star
Make large, beautiful paper stars with this helpful tutorial. Try different papers and even old book pages for a totally different aesthetic.
Source: Aubrey Nile
-
Day 22: Paper Snowflakes
Source: Caroline Crafts at Home
Bonus: Another paper snowflake project! A pack of paper lunch bags goes a long way with this additional snowflake project. These white bags or classic brown will both look great in your home.
Source: Adored by Morgan
-

Day 23: Stove Top Potpourri
We’re winding down and treating ourselves to the wonderful holiday aroma of stove top potpourri. These scents will fill your home and make you feel so warm and cozy!
Tip: You can make this as a gift if you cut the orange slices and bake at 250 F for 3-4 hours. Then place all ingredients in a jar.
Source: Mozy Cozy
-

Day 24: Tassel Garland
We’ve made it! 24 days of ideas to spark your creativity and engage you in the holiday spirit. Sit down with a warm beverage and pile of yarn for this relaxing craft.
Source: Kalli Like the State